
Part 1
The Leak That Almost Broke Me | Kitchen Plumbing Disaster
The “Easy Fix” That Turned Into a Race Against the Plumber
This is the one that almost got me. A small drip under a kitchen sink turned into cut pipe, saturated flooring, a ticking clock before a plumber's cancellation deadline, and a mistake I made because I didn't stop to check what I was actually working with first. This is Part 1 of a 5-part series — here's how it started.
Quick Facts
- Project: Diagnose a kitchen sink leak and replace a failing dual shutoff valve
-
Difficulty: Moderate to potentially advanced — especially once old galvanized plumbing enters the picture
Time: Part 1 covers the discovery, diagnosis, failed first plan, and scramble to find a workable repair - Main challenge: Discovering the supply pipe was galvanized after I had already cut off the threaded end
- Best for: Homeowners trying to understand how a seemingly simple sink leak can turn into a much larger plumbing repair
- Call a professional when: You can't confidently identify the plumbing you're working with, the pipe disappears into a wall, you can't isolate the water safely, or the repair begins exceeding your experience. I'm not a plumber — this is simply what happened to me and how I approached it.
The Situation
My family and I were visiting relatives whose house had been mostly unoccupied for a couple of months when we noticed a slow drip underneath the kitchen sink. At first, this looked like a pretty ordinary plumbing repair. It wasn't. The leak had been running behind the cabinet and underneath the flooring, saturating the area beneath the luxury vinyl plank. Once I traced it back to the shutoff valve, I figured I had the straightforward part solved.
My original plan was simple: remove the old dual shutoff valve, slide on a SharkBite fitting, install a new quarter-turn valve, turn the water back on, and move on with life. That plan lasted until I learned what kind of pipe was actually sticking out of the wall.
⚠️ Before You Start
I'm not a licensed plumber. This article documents what happened during my repair and the decisions I made — it isn't professional plumbing instruction.
Before touching a supply valve or pipe, know exactly how you're going to shut off the water and what kind of pipe you're dealing with. Copper, galvanized steel, PEX, and other materials do not all accept the same fittings.
In my case, incorrectly assuming I was dealing with a pipe compatible with a SharkBite fitting completely changed the repair.
If you're unsure what you're looking at, that's a good time to stop before cutting anything.
What I Used
At this point in the project, my eventual DIY repair supplies included:
- New quarter-turn dual shutoff valve (check fit)
- Replacement threaded pipe
- 14-inch pipe wrench
- Basic hand tools
- SharkBite fitting (check fit)
- Pipe cutter
- Plumbing supplies recommended by the local plumbing supply store
- A whole lot more patience than I expected to need
The 14-inch pipe wrench became especially important. I asked whether a smaller 8-inch wrench would do the job, and the plumbing supplier essentially told me I'd be back ten minutes later buying the bigger one. I listened.
The Steps
1. Find the actual source of the leak.
The water wasn't simply pooling underneath the sink. It was dripping behind the cabinet and traveling underneath the flooring. That matters because the visible wet spot isn't always the full extent of the problem. Once I could see the slow drip coming from the plumbing underneath the sink, I thought the hard part was over.
2. Come up with what seemed like an easy repair plan.
My plan was to remove the old shutoff valve and replace it with a quarter-turn dual valve using a SharkBite-style connection.
I stopped at a local hardware store, explained what I was doing, and picked up what I thought I needed.
But something didn't sit right with me.
3. Get a second opinion before committing.
I decided to stop at a local plumbing supply store and explain the repair to someone who dealt with this stuff every day. That decision probably saved me from making an even bigger mess. The person helping me — Becky — looked at the situation and immediately identified the problem: The pipe coming out of the wall was galvanized steel, not copper. My SharkBite plan wasn't going to work.
4. Realize I had already removed something I needed.
The galvanized pipe originally had a threaded end. I had already tried twisting the old fitting off, but it would not move. So I cut it. That was the mistake. Once I described what I'd done, I learned that I had cut off the threaded portion that would normally have been used to connect the replacement plumbing. And because this was galvanized steel, I couldn't simply slide my planned fitting over the freshly cut pipe. Now the pipe itself had to come out.
5. Figure out whether the pipe disappears inside the wall.
This was the moment the repair went from frustrating to legitimately stressful. If the galvanized nipple disappeared deep inside the wall, removing it could mean opening the wall or possibly removing part of the cabinet just to access the connection. The main water supply to the house was already shut off. My family was waiting. It was the middle of the day. And I didn't yet have a reliable plan.
6. Call plumbers — and discover that's not necessarily an immediate solution.
We started calling plumbers. The first two couldn't come until the following week — even using their emergency contact options. The third plumber was located about 30 miles away and could potentially help, but the emergency rate was around $290 per hour, with a one-hour minimum, plus materials and travel. We were probably looking at roughly a $500 repair. We reserved the spot anyway. But there was a catch. We had only about one hour before the cancellation deadline. That created a new question: Could I solve this myself before that deadline?
7. Remove the escutcheon and see what you're actually dealing with.
Back at the house, I removed the escutcheon plate where the pipe entered the cabinet wall. That changed everything. I could actually see the elbow connection just behind the opening. The pipe didn't disappear somewhere deep inside the wall. My thinking immediately became:
If I can see it, I can control it.
If I could remove the old galvanized pipe without damaging the elbow behind it, I felt confident I could take over the repair from there.
8. Make one more trip to the plumbing supply store.
I went back to Becky and bought the parts and tools I would need if I was going to attempt the repair myself. That included the replacement threaded pipe and a 14-inch pipe wrench. The next problem was simple to describe and much harder to execute: I had to get that old corroded galvanized pipe loose. And I had to do it before the plumber cancellation deadline.
Prefer to watch?
Here is the video on YouTube.
The Result
There isn't really a result yet — and that's the whole point of Part 1.
By the end of this stage, I had:
- found the source of the leak;
- discovered water had traveled beneath the flooring;
- identified the failing shutoff valve;
- learned the pipe was galvanized rather than copper;
- realized my original SharkBite plan wouldn't work;
- cut off the threaded end I actually needed;
- confirmed the remaining pipe was accessible at an elbow behind the cabinet;
- booked an emergency plumber as a backup;
- and bought the tools necessary to attempt the repair myself.
Now I had about an hour to find out whether that old galvanized pipe was actually coming out.
A Note on "Your Setup Will Probably Be Different"
This project is a perfect example of why plumbing repairs can change direction quickly. The important transferable lesson isn't that every kitchen sink will have galvanized steel or that every valve should be repaired the same way. It's that you need to know what material you're working with before choosing the fitting — and especially before cutting anything. Your home may have copper, PEX, CPVC, galvanized steel, or something else entirely. The connection inside the wall may also be completely different from mine. The sequence that transfers is:
Identify → verify → understand the connection → then remove or cut.
I unfortunately rearranged that order.
Homeowner Intelligence
💰 What I was potentially trying to save doing this myself: The available emergency plumber was roughly $290 per hour with a one-hour minimum, plus travel and materials. By the time everything was included, I estimated we could easily be around $500.
Why this repair matters beyond the valve itself: The leak wasn't staying under the cabinet. Water had already traveled underneath the luxury vinyl plank flooring. Stopping the drip was only one piece of the larger problem.
Biggest mistake I made: Cutting the threaded end off the galvanized pipe before fully identifying what I was working with and how the replacement would connect.
Best decision I made: Getting a second opinion from an actual plumbing supply store before going any further. That conversation completely changed my understanding of the repair.
Trickiest part at this stage: Determining whether the old galvanized pipe could be removed without losing control of the fitting inside the wall.
How to know you're getting in over your head: If you're working with an unfamiliar pipe material, can't see or control the connection inside the wall, or you're making irreversible cuts without knowing what comes next, those are strong signs to stop and reassess.
When to call a professional instead: If you can't confidently shut the water off, identify the plumbing, access the connection safely, or understand what will happen when the old pipe comes out, calling a plumber may be the cheaper choice compared with creating a larger repair.
What I'd do differently next time: Identify the pipe material first and confirm exactly how the existing fitting comes apart before using a saw. That one step would have changed the entire first half of this project.
Before You Wrap Up
✓ Double-check: Before cutting or removing a shutoff valve, confirm the pipe material, how the fitting is attached, where the pipe connects inside the wall, and whether your replacement fitting is actually compatible.
💰 Save money next time: A few minutes talking with someone at a plumbing supply store may save you from buying the wrong fittings — or making an irreversible mistake that turns a small repair into an emergency call.
➜ Watch next: Can I Remove This Galvanized Pipe Before the Plumber Deadline? — Kitchen Leak Disaster Part 2
That next video starts exactly where this one ends: big pipe wrench in hand, water still shut off, plumber waiting in the wings, and one badly corroded galvanized pipe standing between me and getting this house back to normal.
Want the full toolkit for projects like this one? The Homeowner Toolkit includes downloadable guides, checklists, planners, calculators, and other resources designed to help you plan repairs before you're halfway into one wondering what just happened.
🛠 Tools & products I love: Amazon Storefront | Lowe's Storefront
This post documents my personal DIY experience and is for informational purposes only. It isn't a substitute for professional plumbing advice. Plumbing systems and local requirements vary, so use your own judgment and hire a licensed plumber whenever you're unsure about the repair or can't safely control the water supply.
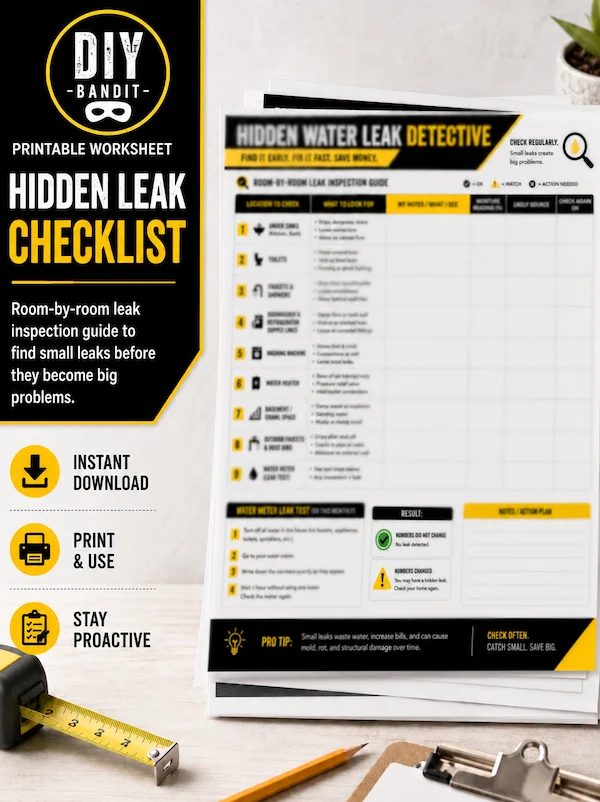
Get the Leak Checklist
Want another printable checklist for home leaks? That's exactly what the Homeowner's Toolkit is for — join here for downloadable project guides and direct help with your own DIY work.

Get the Emergency Map
Want the printable resource related to this exact project? That's exactly what the Homeowner's Toolkit is for — join here for downloadable project guides and direct help with your own DIY work.