
Part 2
The Pipe Finally Came Off | Kitchen Leak Disaster
Part 1 ended with a cut pipe, a plumber's deadline, and a question I couldn't answer yet: could I actually get this fixed myself before the cancellation window closed? This picks up right where that left off.
Quick Facts
- Project: Removing a stuck galvanized pipe and installing new threaded copper pipe with a shutoff valve
- Difficulty: Moderate — real physical effort plus careful thread work
- Time: Roughly an hour, working against a real deadline
- Main challenge: Getting the old pipe off without damaging the elbow inside the wall, then getting the new threaded connections tight enough without over-tightening
- Best for: Anyone facing a similarly stuck or corroded pipe connection
- Call a professional when: If the elbow fitting itself starts moving or bending as you work on it — that's a sign to stop, not push harder
The Situation
Quick recap from Part 1: a small under-sink leak turned into cutting a galvanized pipe that should have been unscrewed instead, a plumbing supply expert setting the record straight, and a roughly $500 emergency plumber quote I was racing to beat. I'd already found that the elbow fitting was visible rather than buried deep in the wall — which meant I had a real shot at doing this myself.
⚠️ Before You Start
I'm not a plumber — this is what I did on my own house, not professional instruction. At one point in this repair, tightening close to the elbow fitting matters specifically because if that elbow starts bending or moving, that's a sign to stop and call a professional rather than push harder. I'll flag that moment again when it comes up below.
What I Used
- 14-inch pipe wrench
- Threaded copper pipe, cut to match the old galvanized pipe's length
- New dual shutoff valve
- PTFE (Teflon) tape
- Pipe dope
- A stiff-bristled brush (I joked about using one of my kids' toothbrushes — I didn't actually)
What I Did
1. Removed the old galvanized pipe with the pipe wrench. It was on there extremely tight — likely old pipe dope acting almost like cement. It took real effort, but it came off in one piece.
2. Cleaned the threads on the elbow fitting. Cleared off rust, corrosion, and debris so the new pipe would have clean threads to grip.
3. Got the new threaded copper pipe cut to length. The plumbing supply store matched it to the old galvanized pipe so the fit would be right.
4. Applied tape in the correct direction. This part matters more than it seems — I wrapped the Teflon tape in the same direction the pipe would be turned during installation, so tightening it wouldn't unravel the tape. About four or five wraps, pulled back slightly from the very first thread so it wouldn't restrict water flow once installed.
5. Applied pipe dope over the tape. Mixed it well before applying (you don't want the oil separating out), then applied it generously in one smooth pass — being careful not to disturb the tape underneath, since disrupting it means starting that step over.
6. Assembled the valve onto the pipe first, before installing the pipe into the wall. This gave me more control over the connection than trying to attach the valve after the pipe was already in place.
7. Threaded the new pipe into the wall elbow carefully, hand-tight first, making sure the threads were aligning correctly and not cross-threading.
8. Finished tightening with the pipe wrench, gripping as close to the elbow as possible. This matters specifically to avoid transferring torque into the elbow itself and twisting it inside the wall. If the elbow starts moving or bending while you're doing this, that's the moment to stop and call a professional — a secure, sturdy elbow can take this kind of tightening; one that's already compromised can't.
9. Turned the water main back on gradually, with someone else at the street shutoff and a chain of communication relaying instructions back to the fixture — better to bring it up slowly and watch for problems than open it all the way at once.
Prefer to watch?
Here is the video on YouTube.
The Result
Water was coming back on, slowly, with everyone watching closely for a problem. What happened next — well, that's Part 3.
A Note on "Your Setup Will Probably Be Different"
Not every stuck pipe comes off as cleanly as this one did, and not every elbow fitting is as secure as mine turned out to be. The part that transfers: work the tightening close to the fitting, watch for movement at the joint, and treat any bending or shifting as a stop sign, not something to push through.
Homeowner Intelligence
💰 What I saved doing this myself: Continuing to avoid the roughly $500 emergency plumber quote from Part 1 — this stage was the actual labor that made that possible.
Why this matters (not just what happened): Tape direction and pipe dope technique aren't just fussy details — wrapping tape the wrong direction means it unravels the moment you start tightening, which means redoing the whole step. Assembling the valve onto the pipe before installing it into the wall gave meaningfully more control than trying to attach it afterward.
Trickiest part of this stage: Knowing how tight is actually tight enough. I went until the pipe wrench couldn't give any more resistance by hand — but I'll be honest, I don't know the exact professional standard for this. It's a real judgment call, not an exact science I can hand you a number for.
How to know you're doing it right: The connection is tight enough that the wrench stops giving, the elbow fitting stays completely still while you tighten (no bending or twisting), and there's no visible movement at the joint once everything's assembled.
When to stop and call a professional instead: If the elbow fitting itself starts bending or moving as you tighten — that's a direct sign something back there isn't secure enough to handle the work, and pushing through it risks a bigger problem inside the wall.
What I'd do differently next time: Honestly still not sure on the exact right amount of tightening torque — that's something I'd want a real answer on before doing this again, not just going by feel.
Before You Wrap Up
✓ Double-check: New pipe and valve are fully tight with no movement at the elbow, tape wasn't disturbed during installation, and the water main is turned back on gradually, not all at once.
💰 Save money next time: Don't buy your tools at the plumbing supply store: have a 14" pipe wrench on hand (buy it only before for 1/2 the price).
➜ Watch next: Part 3 of this series — what happened when the water came back on. Or check out more videos in our Kitchen playlist.
🛠 Tools & products I love: Amazon Storefront | Lowe's Storefront
⚠️ This post is meant to help with your own project or purchase decision — not to replace professional advice. Please consider the risks before starting any project, and know that you're responsible for your own results. I'm not a licensed plumber or contractor, and this channel is not liable for any damage, injury, or loss related to anything shown here. Any action you take based on this video is at your own risk.
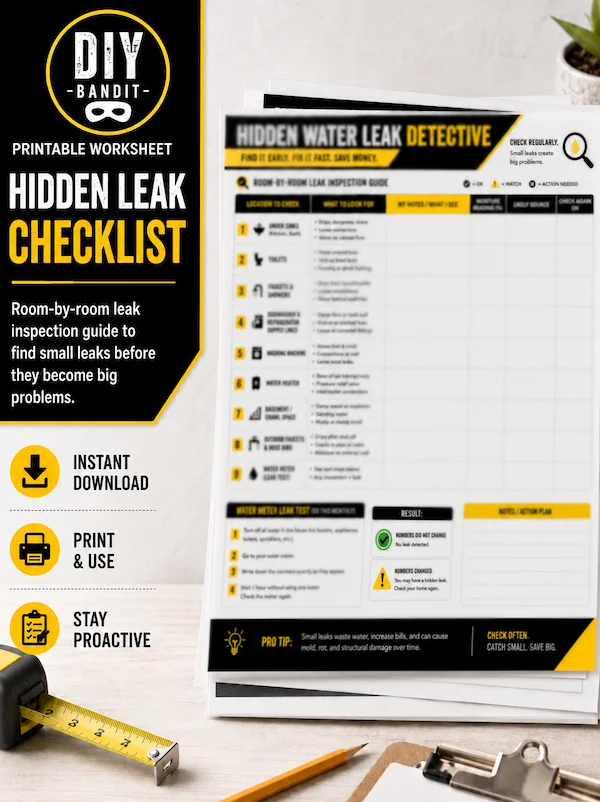
Get the Leak Checklist
Want another printable checklist for home leaks? That's exactly what the Homeowner's Toolkit is for — join here for downloadable project guides and direct help with your own DIY work.

Get the Emergency Map
Want the printable resource related to this exact project? That's exactly what the Homeowner's Toolkit is for — join here for downloadable project guides and direct help with your own DIY work.