
How to Install a New Light Fixture on a Sloped Ceiling
Our old dining room light fixture had seen better days — a little spidery, a little dated, and hanging from a sloped ceiling that climbs to about 20 feet. That height (and the angle) is exactly what makes a sloped-ceiling install different from a standard one, so here's how it actually went, step by step.
- Project: Install a light fixture on a sloped (and vaulted) ceiling
- Difficulty: Moderate beginner DIY
- Time: Approximately 45–90 minutes
- Main challenge: Getting the mounting hardware, wires, and fixture connected; also being high on ladder
- Best for: Someone comfortable safely replacing a basic light fixture
- Call a professional when: Wiring, electrical box condition, or ceiling support is uncertain
The Situation
The existing setup was custom — a hand-cut wood attachment piece and a brass extension arm that looked like someone put real effort into it decades ago. I wanted to reuse that extension arm rather than toss it, which meant this wasn't going to be a straight swap-and-go install.
The new fixture: a rattan-shade return-style light with a chain, matching hardware, and vintage-style bulbs to give it a warmer look than standard LEDs.
⚠️ Before You Touch Anything
I'm not a licensed electrician. If you're not comfortable working around your home's wiring, call one — electricity is genuinely dangerous, and what I did here isn't a substitute for that. Turn the power off at the breaker, and don't take that on faith: I used a multimeter to confirm the power was actually off before touching any exposed wiring, and you should too.
What I Used
- New light fixture (shade, return piece, mounting hardware, chain)
- Ladder (rated for the height you're working at)
- Multimeter
- Wire connectors / butt connector (for extending a short ground wire)
- Black spray paint (optional — for reusing an old extension arm)
- Basic hand tools (screwdriver, wire strippers)
The Steps
1. Power off, then verify it. Breaker off, multimeter check before touching anything.
2. Remove the old fixture. In my case this meant carefully backing out a custom wood attachment piece and disconnecting old wiring that hadn't been touched in decades.
3. Save what's reusable. I kept the old brass extension arm, removed the chain from it, and set it aside to repaint — more on that below.
4. Repaint the extension arm (if reusing one). A couple coats of black spray paint gave the old brass arm a completely different look, and let the cord run more toward the center of the dining table instead of off to one side.
5. Assemble the new fixture on the ground first. Feed the wiring through the fixture body, attach the mounting piece per the instructions that came with it, and get the lampshade seated in the rattan piece before you're up on a ladder trying to do it one-handed.
6. Feed the cord and attach the chain. Slide the cord through the underside of the shade, pull the slack through, attach the retaining ring, and connect the chain. Braiding the cord through the chain links (skipping roughly every third link) lets you fine-tune the hanging length — more braiding, shorter drop.
7. Handle the ground wire carefully. Mine was too short for the new setup, so I extended it with a butt connector rather than leaving a weak connection. This is exactly the kind of detail worth double-checking, not skipping.
8. Connect, test, and confirm. Wire everything into the ceiling box (call an electrician if you need to), add a bulb, and turn the power back on before you finish the cosmetic steps — better to find a wiring issue now than after everything's buttoned up. Ours worked first try, dimmer function included.
9. Reattach the (now black) extension arm, adjust the chain to the height you want, install your bulbs of choice (I recommend LEDs), and add the bottom cover piece.
Prefer to watch?
Here is the video on YouTube.
The Result
Family-approved, and a big upgrade from the old spidery fixture — the vintage bulbs plus the dimmer give it a warmer feel than a standard bulb setup would have.
A Note on "Your Setup Will Probably Be Different"
The specific modifications here (reusing a decades-old extension arm, extending a short ground wire, working around a custom wood mounting piece) are specific to this house's history. Your ceiling box, wiring, and hardware will likely look different — the core sequence (power off → verify → disconnect old → wire new → test before finishing) is the part that transfers, not the exact hardware steps.
Homeowner Intelligence
💰 What I saved doing this myself: I had the tools already, so I just paid for the light fixture. An electrician would have charged $300-$500 for a similiar job, plus the ficture.
Why this install matters (not just the steps): The extension arm got repainted and reused instead of replaced — that's what let the cord hang toward the center of the table instead of off to one side. And the ground wire got properly extended with a connector rather than left short, because a weak ground connection is exactly the kind of shortcut that causes real problems later, even though it's invisible once the cover's on.
Trickiest part of this specific install: Working 20 feet up a ladder while making sure the ground connection was solid — a sloped, high ceiling adds real physical difficulty on top of the normal wiring steps.
How to know you're doing it right: Power back on, dimmer functioning, fixture hanging level, and every wire nut holds when you tug on it before you close anything up.
When to stop and call an electrician instead: If you're not confident identifying which wire is which, if your ground wire situation isn't straightforward, or if anything about the existing wiring looks altered or unusual — any of those is a real reason to stop and bring in a licensed electrician rather than guess.
What I'd do differently next time: I would use clamp-system wire connectors instead of butt connectors, and possibly replace the custom wood piece with a new one. Also, assemble and test-fit as much as possible before climbing the ladder.
✓ Double-check: Power back on, fixture level, every wire nut passed a tug test, dimmer working as expected.
💰 Save money next time: If you've got usable hardware (an extension arm, a mounting bracket) from the old fixture, a $5 can of spray paint can make it match your new one instead of buying all-new hardware.
➜ Watch next: Check out more videos in our Electrical & Smart Home series.
🛠 Tools & products I love: Amazon Storefront | Lowe's Storefront
This post is for informational purposes and isn't a substitute for professional electrical work. Please use your own judgment and consider hiring a licensed electrician if you're not comfortable with this kind of project.
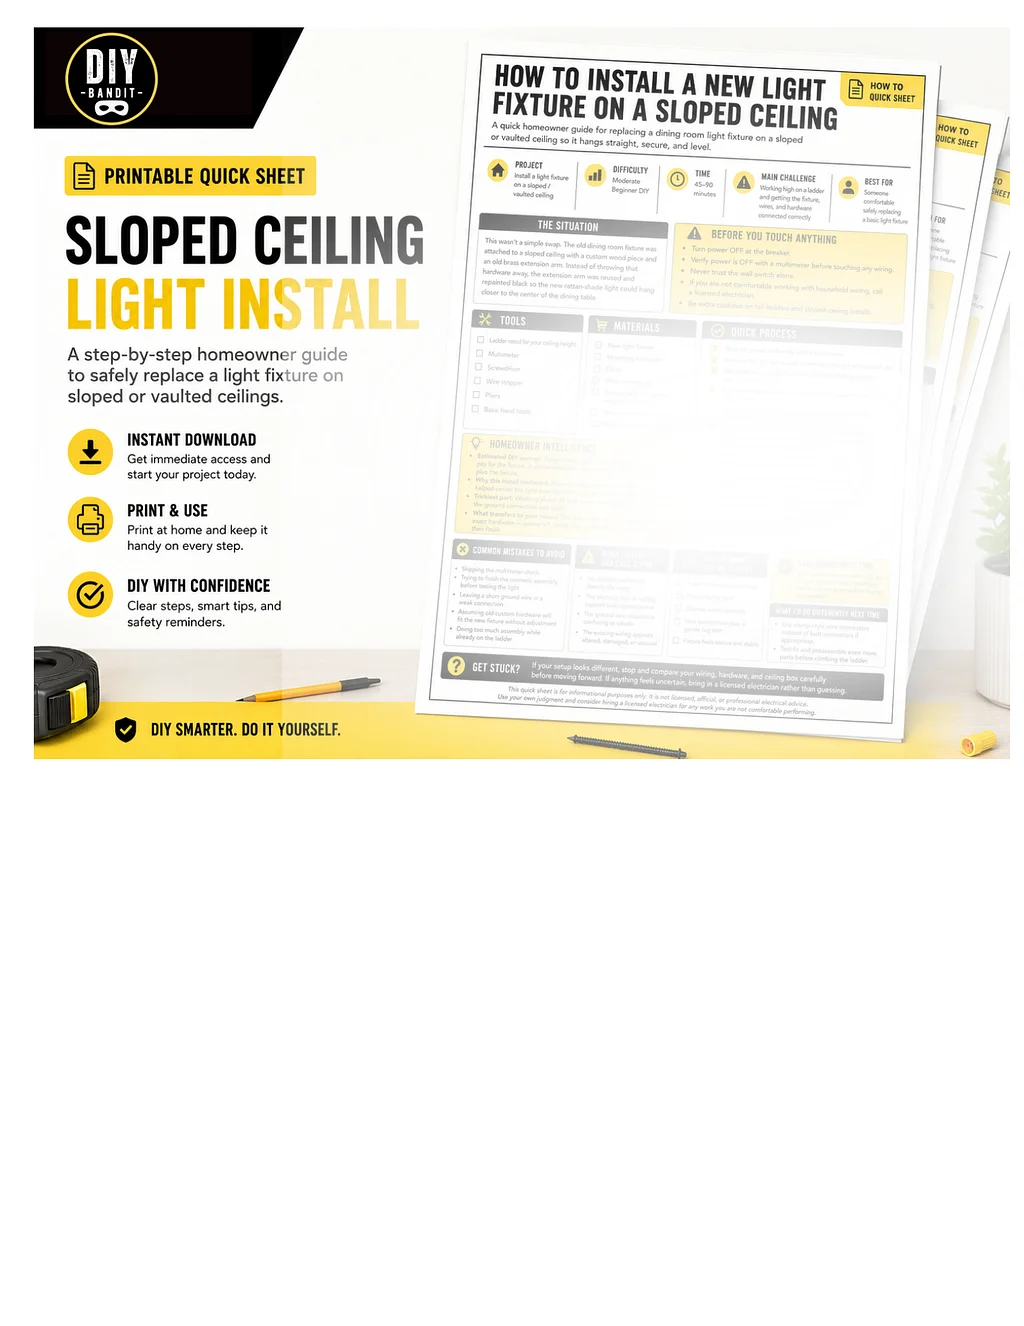
Get the Quick Project Sheet
Want the printable Quick Sheet for this exact project? That's exactly what the Homeowner's Toolkit is for — join here for downloadable project guides and direct help with your own DIY work.