
How to Install a Flush-Mount Ceiling Light
The Ceiling Fan Swap That Made Our Kids' Room Safer
This one started as a safety fix — a ceiling fan in our kids' room was hanging low enough over a set of new bunk beds to be a real hazard as it turned. The fan came down in a separate project; this Guide picks up right after that, installing a flush-mount light in its place.
Quick Facts
- Project: Install a flush-mount ceiling light (replacing an existing fixture or ceiling fan)
- Difficulty: Easy, beginner-friendly
- Time: 30-45 minutes
- Main challenge: Getting the mounting bracket properly secure, and judging the right stem length so the glass bowl sits correctly
- Best for: Anyone swapping an existing ceiling fixture for a flush-mount light
- Call a professional when: The wiring doesn't match what your instructions describe, you're not confident identifying the wires, or the ceiling box isn't rated for the fixture's weight
The Situation
After removing a ceiling fan that was hanging too low over new bunk beds, the ceiling was left with just the electrical box exposed. This Guide covers what came next — mounting and wiring a flush-mount light in that same spot. (Fixture removal itself was a separate project — if you're starting from an existing fan or fixture, that comes out first.)
⚠️ Before You Start
I'm not a licensed electrician. I do know that it is critical to turn off the breaker for the fixture and keep the light switch off — don't rely on the switch alone. A voltage/multimeter check before touching any wires is a smart extra step, even though it isn't shown in this video.
What I Used
- Flush-mount ceiling light kit (came with mounting bracket, hardware, and instructions)
- Manual screwdriver (recommended over a drill for the ground screw specifically — more control, less risk of over-tightening)
- Drill (for driving the mounting screws)
- LED bulbs
- Wago connectors (strongly recommended)
The Steps
1. Lay out all the hardware first. Flush-mount kits typically include a couple of different screw sizes, a mounting bracket, and small parts — keep everything grouped so nothing gets lost, and take a minute to see how it's meant to go together before starting.
2. Power off, and don't rely on the switch alone. Breaker off, switch off. A voltage meter check is worth doing before you touch any wiring. Call a licensed electrician if you are not comfortable or not sure.
3. Mount the horizontal bracket to the ceiling box. Get it snug and firm — this is your main anchor point, and if the bracket is wiggly, the finished fixture will be wiggly too. If the provided screws feel undersized for a solid grip, swap in slightly thicker ones rather than forcing an unstable fit.
4. Partially drive the two longer screws into the bracket. Not all the way — just enough to get a good bite. These are what the fixture body slides onto later.
5. Prep the fixture's wires, stripping the ends as needed to get them ready for connecting.
6. Connect the ground wire first. Loop it and secure it to the green grounding screw, using a manual screwdriver for better control and to avoid stripping it.
7. Match and connect the remaining wires with wire nuts — typically black-to-black, white-to-white, but confirm against your specific fixture's instructions, since wire colors and setups vary. Call a licensed electrician if you are not sure or uncomfortable with wiring. Safety first!
8. Slide the fixture body up onto the two longer screws you partially drove in step 4, then finish tightening with a drill followed by a screwdriver to snug it down. The fixture should pull flush against the ceiling with no visible gap.
9. Adjust the threaded stem length. This step involves some genuine trial and error — thread the stem in, test-fit the glass bowl over it, and adjust until there's the right amount of stem showing above the bowl once the washer and nut are fully tight.
10. Install the bulbs, then place the glass bowl over the stem and secure it with its retaining nut — snug, but don't overtighten.
11. Add the final finishing piece that threads onto the very end for a clean, polished look.
12. Restore power and test.
Prefer to watch?
Here is the video on YouTube.
The Result
A flush, secure ceiling light where a low-hanging fan used to be — and one less safety concern over a kids' bunk bed.
A Note on "Your Setup Will Probably Be Different"
Wire colors, box depth, and included hardware all vary by fixture and by house. If your fixture came with a second switch that no longer has a function (as happened here, since there's no ceiling fan left to control), that's normal — I just left it unused rather than trying to force a purpose onto it.
Homeowner Intelligence
💰 What I saved doing this myself: I purchased the fixture for $30 for a pair, and I had all other tools and supplies. An electrician where I live would have charged roughly $120/hr. with an estimated charge of two hours, so the savings was significant.
Why this install matters (not just the steps): A wiggly mounting bracket means a wiggly light, permanently — that's why getting it snug in step 3 matters more than almost anything else in this project. It's also why the ground wire gets a manual screwdriver instead of a drill: a drill makes it easy to over-torque and strip that connection without realizing it.
Trickiest part of this install: Judging the stem length. There's no exact formula — it's a test-fit-and-adjust process with the glass bowl until the proportions look and sit right.
How to know you're doing it right: The fixture sits flush against the ceiling with no gap, the bracket doesn't wiggle, the glass bowl is secure without rocking, and the light works when you restore power.
When to stop and call an electrician instead: If your wire colors or count don't match what the instructions describe, if you're unsure about the ground connection, or if anything about the existing wiring looks altered or damaged — any of those is a real reason to bring in a professional rather than guess.
What I'd do differently next time: Get a second person to hold the fixture in place while you connect the wires - that would have made the process easier. Also, I recommend these Wago connectors instead of the wing-nut types/
Before You Wrap Up
✓ Double-check: Bracket is firm with no wiggle, fixture sits flush against the ceiling, glass bowl is secure, and the light works once power is restored.
💰 Save money next time: If the included mounting screws feel undersized, a small stock of slightly thicker screws on hand saves a trip back to the store mid-project.
➜ Watch next: Check out more videos in our Electrical & Smart Home playlist.
Want the full toolkit for projects like this one? Toolkit gives you downloadable guides, checklists, and real project help.
🛠 Tools & products I love: Amazon Storefront | Lowe's Storefront
This post is for informational purposes and isn't a substitute for professional advice. Please use your own judgment before starting any project, and consider hiring a licensed electrician if you're not comfortable with this kind of work.
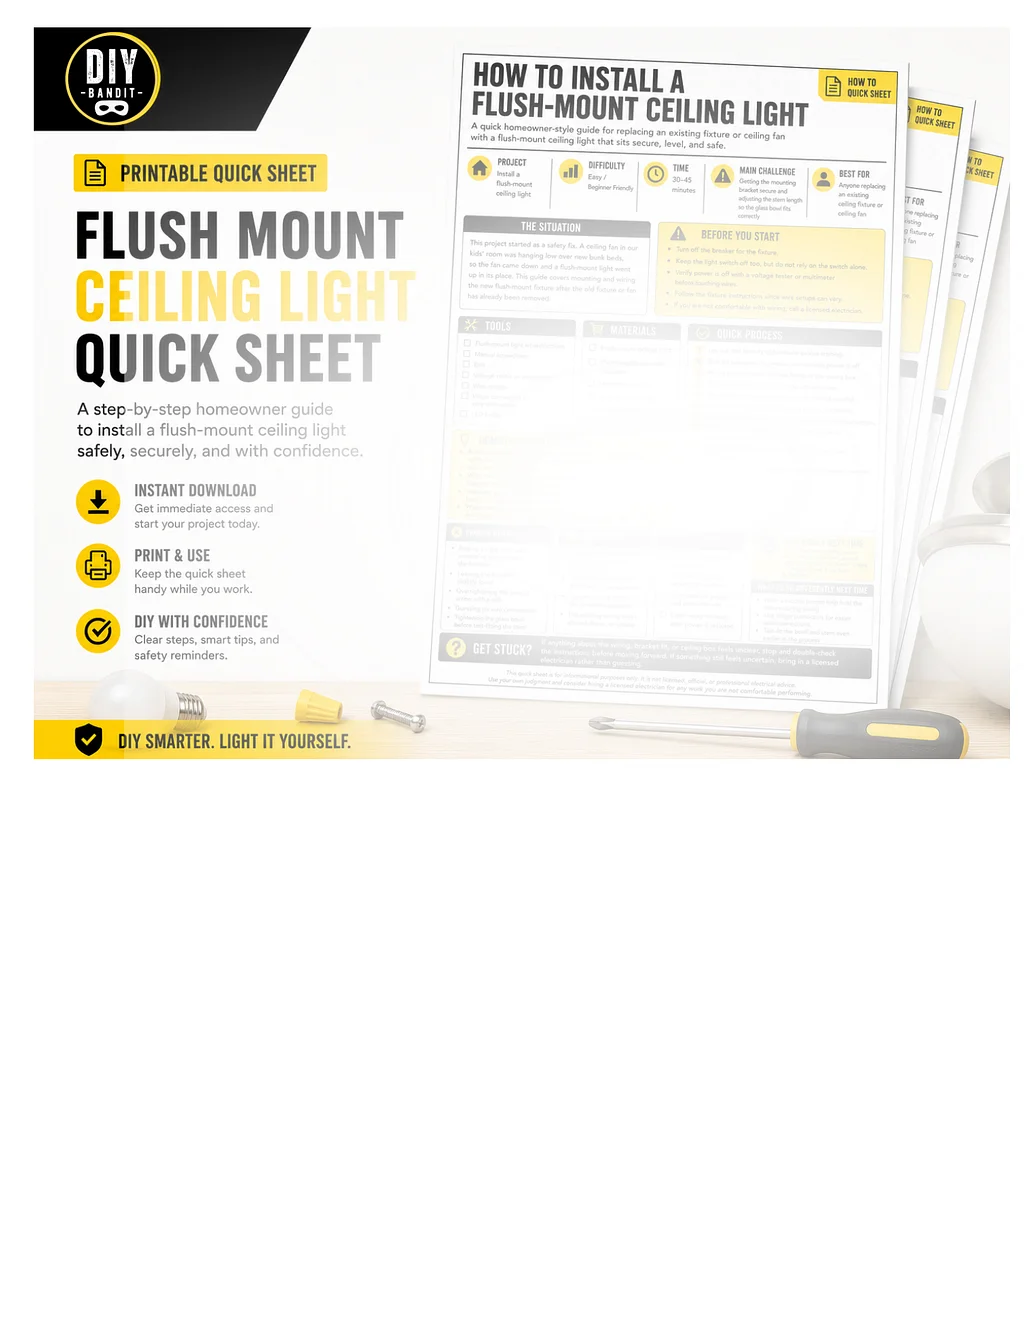
Get the Quick Project Sheet
Want the printable Quick Sheet for this exact project? That's exactly what the Homeowner's Toolkit is for — join here for downloadable project guides and direct help with your own DIY work.