
New Garage Light Install
New Garage Light Install
Two Decades of Grime Behind My Garage Light
Our exterior garage lights were overdue for a swap — here's what I did to replace both fixtures, including a few things I didn't expect to find behind the old ones.
Quick Facts
- Project: Replace exterior garage/dusk-to-dawn light fixtures
- Difficulty: Moderate — real electrical work plus exterior sealing
- Time: Roughly 1.5-2.5 hours for two fixtures
- Main challenge: Cleaning out decades of buildup behind the old fixture, getting the mounting screws the right length, and sealing properly against siding that isn't perfectly flat
- Best for: Homeowners comfortable with basic exterior electrical work
- Call a professional when: As I say in the video itself — always hire a licensed professional for electrical work if you're not fully comfortable. I'm not a licensed electrician; this is just what worked for me on my own house.
The Situation
Two exterior garage lights, both original to the house, needed replacing. I picked out a metal-finish set with a distressed-wood look — bought as a two-pack, which worked out meaningfully cheaper than what the same fixtures cost individually.
⚠️ Before You Start
I'm not a licensed electrician — everything here is what I personally did, not professional instruction. I turned off the breaker, then went back out to confirm the fixture's bulb wasn't lighting up, then flipped the light switch to double-check it was off too. Even after all that, I still tested with a multimeter before touching any wires — confidence isn't the same as certainty, and it costs nothing extra to check. If you're not comfortable identifying wires or confirming power is off, this is exactly the moment to call a licensed electrician instead of guessing.
What I Used
- New exterior light fixtures (dusk-to-dawn style)
- Multimeter
- Screwdriver
- Wire strippers/basic hand tools
- Razor blade (for removing old silicone)
- Shorter machine bolts (swapped in when the originals were too long)
- 100% clear silicone sealant
- Painter's tape
- Contoured plastic mount pieces (optional, for a cleaner seal against uneven siding)
- Vintage-style low-wattage LED bulbs
The Steps
1. Remove the old fixture. A couple of screws, and the whole housing comes off.
2. Kill the power — and actually verify it, not just assume. I went to the breaker box, flipped what I believed was the right breaker, then went back to check both the fixture and the light switch. Even feeling confident, I still tested with a multimeter (set to 200) and waited for a zero reading before touching anything.
3. Expect the unexpected behind an old fixture. Mine had years of buildup — dirt, old insect activity, general grime. Gloves and a mask made the cleanup a lot more tolerable, and a stiff brush cleared it out before I went any further.
4. Remove old silicone with a razor blade, working carefully to avoid cutting into the siding itself.
5. Dry-fit the new back plate before wiring anything. I fed the mounting screws through and test-fit the plate against the junction box first — this is what caught a real problem before it became one.
6. Check screw length before you commit. My screws were too long — the fixture's caps wouldn't seat flush because of it. I had to back the machine bolts out, swap in shorter ones from the hardware store, and confirm the caps would thread on all the way and sit tight before moving forward.
7. Wire the fixture, then attach the caps on both sides — and don't skip the small rubber washers. I missed these on my first attempt; they're easy to overlook but matter for keeping water out.
8. Restore power and test before finishing cosmetically. I put a bulb in, flipped the switch, and used the included rubber test cap over the dusk-to-dawn sensor to confirm it worked, rather than waiting for nightfall to find out.
9. Seal the perimeter with 100% silicone, especially if your siding isn't perfectly flat — mine wasn't consistent all the way around. If you want a cleaner look than silicone alone, contoured plastic trim pieces made for your siding profile are inexpensive and give a finished edge — mine cost a few dollars each versus roughly $40 for a similar off-the-shelf trim option.
10. Repeat for the second fixture. Mine didn't even have a junction box — just wires coming straight out of the wall — so every fixture may present a slightly different starting point even on the same house.
Prefer to watch?
Here is the video on YouTube.
The Result
Both fixtures installed, sealed, and tested working — including the dusk-to-dawn sensor function. Vintage-style low-wattage LED bulbs finished the look.
A Note on "Your Setup Will Probably Be Different"
What's behind your existing fixture, whether there's an actual junction box, and how flat your siding is will all vary. The sequence here — verify power, dry-fit before wiring, test before final sealing — is what transfers; the specific mess and the specific screw-length problem were particular to this house.
Homeowner Intelligence
💰 What I saved doing this myself: Buying the fixtures as a two-pack for around $70 worked out notably cheaper than the roughly $89-100 per fixture they were listed at individually. The contoured trim pieces were also a few dollars each versus about $40 for a comparable off-the-shelf option.
Why this install matters (not just the steps): Testing with a multimeter even after visually confirming the power looked off isn't overkill — it's the actual safety step, not a formality. Same with dry-fitting the back plate before wiring: catching the screw-length problem before everything was wired up saved having to undo finished work.
Trickiest part of this install: Getting the mounting screws to the right length so the caps would seat flush, and getting a genuinely watertight seal against siding that wasn't perfectly flat around the whole perimeter.
How to know you're doing it right: The fixture sits flush, the caps thread on fully and tight, the light and sensor both test correctly with power restored, and there are no visible gaps once sealed.
When to stop and call a professional instead: If you're not confident identifying the wires, if there's no accessible junction box and the setup looks different from what your fixture's instructions expect, or if anything about the existing wiring looks altered — any of those is a real reason to bring in a licensed electrician. As stated in the video: always hire a licensed professional for electrical work if you're not fully comfortable doing it yourself.
What I'd do differently next time: Definitely install the contoured siding mounting pieces first - the gaps on the sides without them were too large. Also, put the small rubber washers on the first time instead of having to redo that step after noticing they were missing.
Before You Wrap Up
✓ Double-check: Both fixtures sit flush and sealed, caps are fully threaded and tight, washers are in place, and the light plus dusk-to-dawn sensor both test working with power restored.
💰 Save money next time: Buying fixtures as a matched set instead of individually can be meaningfully cheaper — worth checking the per-unit math before buying separately.
➜ Watch next: Check out more videos in our Electrical & Smart Home playlist.
Want the full toolkit for projects like this one? Toolkit gives you downloadable guides, checklists, and real project help.
🛠 Tools & products I love: Amazon Storefront | Lowe's Storefront
This post is for informational purposes and isn't a substitute for professional advice. Please use your own judgment before starting any project, and consider hiring a licensed electrician if you're not comfortable with this kind of work.
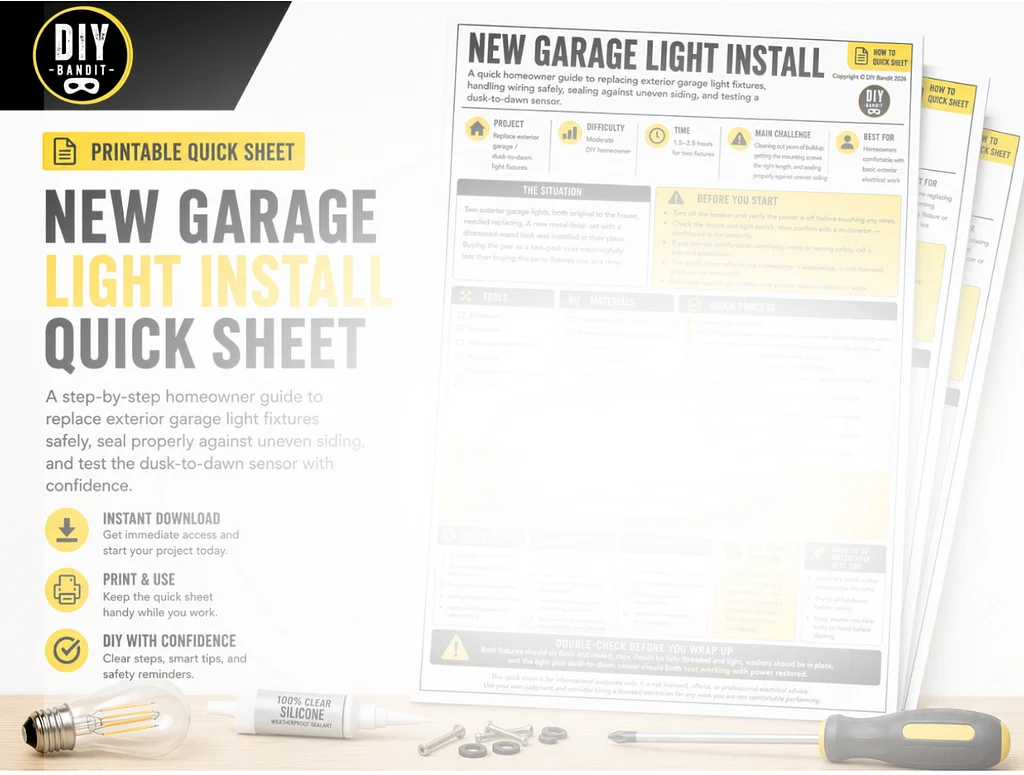
Get the Quick Project Sheet
Want the printable Quick Sheet for this exact project? That's exactly what the Homeowner's Toolkit is for — join here for downloadable project guides and direct help with your own DIY work.