
Part 4
Low Water Pressure — Here's What Fixed It | Kitchen Leak Disaster
Four parts into this series, the actual leak is fixed, the pipe is replaced, and the cabinet is drying. What's left: the kitchen faucet had noticeably weak water pressure — and it turned out to be a direct side effect of the repair itself, not a separate problem.
Quick Facts
- Project: Fixing low water pressure at a kitchen faucet by cleaning the handle screen and aerator
- Difficulty: Easy, beginner-friendly
- Time: 20-30 minutes
- Main challenge: Removing the aerator without the proper tool
- Best for: Anyone with weak faucet flow, especially after any recent pipe or plumbing work
- Call a professional when: If your specific faucet model doesn't match what's described here — check your manual or manufacturer before forcing anything apart
The Situation
Quick recap: a slow leak under the kitchen sink turned into a cut pipe, a mistaken SharkBite plan, a full pipe replacement, a brief flash-flood moment when the water main went back on, and a saturated cabinet that's now fully dry. That left two things unresolved — weak water pressure at the faucet, and a still-saturated vinyl floor. This part covers the water pressure fix.
⚠️ Before You Start
I'm not a plumber — this is what worked on my own faucet, not professional instruction. Every faucet model is a little different. If yours doesn't match what's described here, check your manual, search your model number, or even snap a photo and do a reverse image search before forcing anything apart.
What I Used
- Crescent wrench (to access the retractable hose threads)
- Small wrench (for reassembling the handle, snug but not overtightened)
- Toothbrush (for scrubbing the aerator while testing water flow)
- Improvised aerator removal tool— I used a protractor with two sharp tips when I didn't have the actual tool; a proper aerator removal tool (cheap, available from the manufacturer) is the better option if you're not in a hurry
What I Did
1. Started with the visible parts. Picked out the individual rubberized nozzle pieces around the aerator area with something sharp, just to see what I was working with.
2. Checked whether the faucet handle could come off. This particular faucet had a retractable hose — pulling it out slightly with a crescent wrench revealed threads where the handle actually unscrews. Inside was a screen I didn't know was there.
3. Cleaned the screen inside the handle. Ran strong water through it to flush out buildup until only clean mesh was visible. No loose parts to worry about on this model — just water to empty out.
4. Reinstalled the handle. The retractable hose tends to pull back up inside the faucet body — reaching underneath and pushing it up from below brings it back within reach. Screwed the handle back on with no tape needed, tightened it firm but not overly tight (cracking is a real risk if you overdo it), then tested for leaks at the top of the handle.
5. Went back to the aerator and tested flow with a toothbrush scrub first. Wasn't satisfied with the improvement, so the aerator itself needed to come off.
6. Improvised a removal tool. No official aerator removal tool on hand, so after trying a couple of small screwdrivers without much luck, a protractor with two sharp tips gave enough grip to slowly back it out counterclockwise. It took real effort — not a quick twist.
7. Photographed everything before fully disassembling it, so reassembly would be straightforward.
8. Washed off the aerator screen. Sediment buildup here made sense given the timing — the pipe had just been replaced, and that kind of work stirs up sediment that has to end up somewhere. The aerator screen is exactly where it collects.
9. Reassembled, using the same improvised tool to grip the two 180-degree grooves on the outer plastic, twisting clockwise until snug — not overtightened, since too loose causes irregular, uneven spray.
10. Tested the flow. Real, noticeable improvement.
Prefer to watch?
Here is the video on YouTube.
The Result
Meaningfully better water pressure at the kitchen faucet, with both the handle screen and the aerator cleaned out.
A Note on "Your Setup Will Probably Be Different"
Not every faucet has a retractable hose, an unscrewing handle, or a screen in the same spot — the core idea (there are usually two separate screens/screens-adjacent points that can clog: one near the handle, one at the aerator) is what transfers, not the exact disassembly steps.
Homeowner Intelligence
💰 What I saved doing this myself: No service call for a "low pressure" complaint, and no separate purchase of the official aerator removal tool since a household item worked as a substitute in a pinch.
Why this matters (not just what happened): This wasn't a random, unrelated problem — it was a direct downstream effect of the pipe replacement from earlier in this series. Replacing old pipe stirs up sediment, and that sediment has to land somewhere. Understanding why the pressure dropped made this a five-minute diagnosis instead of a guessing game.
Trickiest part of this stage: Getting the aerator off without the proper tool. It's doable, but it takes real patience and the right improvised grip — rushing it risks damaging the plastic housing.
How to know you're doing it right: Clean mesh with no visible buildup, noticeably improved flow after testing, and even, consistent spray with no irregular spatter once everything's reassembled (uneven spray is a sign the aerator isn't tight enough).
When to stop and call a professional instead: If your faucet doesn't match this general layout, or if pressure doesn't improve after cleaning both the handle screen and the aerator — at that point the cause may be further upstream than what's accessible from the faucet itself.
What I'd do differently next time: Order the actual aerator removal tool ahead of time rather than improvising mid-project — it's inexpensive, and it would have made this step considerably faster.
Before You Wrap Up
✓ Double-check: No leaks at the base of the handle, water flow is noticeably improved, and spray pattern is even with no irregular spatter.
💰 Save money next time: Keep a spare aerator removal tool on hand (or know your faucet model ahead of time) — cheap insurance against exactly this kind of mid-project improvisation.
➜ Watch next: Part 5 of this series — tackling the saturated vinyl floor. Or check out more videos in our Kitchen playlist.
🛠 Tools & products I love: Amazon Storefront | Lowe's Storefront
This post is for informational purposes and isn't a substitute for professional plumbing work. Please use your own judgment and consider hiring a licensed plumber if you're not comfortable with this kind of project.
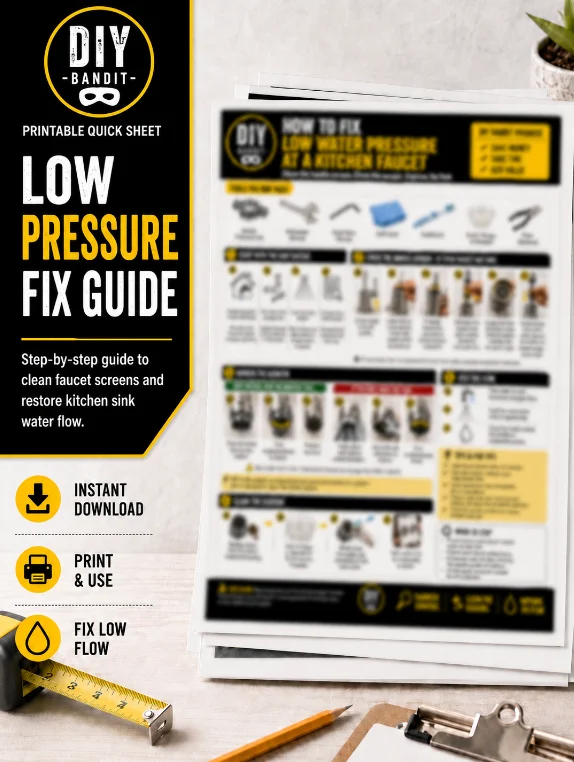
Get the Low Pressure Fix Guide
Want the printable resource related to this exact project? That's exactly what the Homeowner's Toolkit is for — join here for downloadable project guides and direct help with your own DIY work.
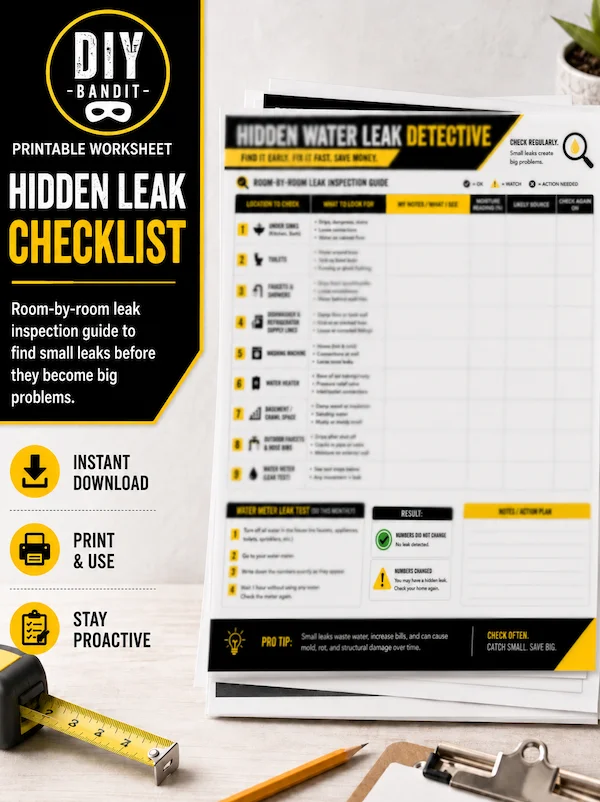
Get the Leak Checklist
Want another printable checklist for home leaks? That's exactly what the Homeowner's Toolkit is for — join here for downloadable project guides and direct help with your own DIY work.

Get the Emergency Map
Want the printable resource related to this exact project? That's exactly what the Homeowner's Toolkit is for — join here for downloadable project guides and direct help with your own DIY work.