
The Simple Trick That Fixed My Stuck Zipper | How to Fix a Jammed or Broken Zipper
A stuck zipper is one of those universal annoyances — and when the pull tab actually breaks off too, it feels like the item's done for. It's usually not. Here's the exact trick I used to get a "broken" zipper on a pair of leather boots working again.
Quick Facts
- Project: Fix a stuck, jammed, or broken zipper
- Difficulty: Easy, beginner-friendly
- Time: 5-15 minutes
- Main challenge: Realigning tiny metal teeth without damaging the surrounding fabric or leather
- Best for: Anyone with a stuck zipper on boots, jackets, bags, or anything else with a metal zipper track
- When this won't work: If teeth are actually missing (not just misaligned) or the fabric zipper tape itself is torn — that's a replacement job, not a realignment fix
The Situation
The zipper on a pair of leather boots had gotten stuck, and in the process of working on it, the small pull-tab piece snapped off entirely. Rather than treat that as a dead end, that broken piece became the way in — using it as an anchor point to get leverage on the slider.
⚠️ Before You Start
You'll be working with a sharp utility/X-Acto knife near fabric or leather — go slow, keep your fingers clear of the blade path, and work in good light so you can actually see the teeth you're aligning.
What I Used
- Small Allen wrench (a paper clip works fine too — anything that fits through the small hole in the zipper slider for leverage)
- Pliers (for extra grip on the improvised hook, if needed)
- X-Acto knife or utility knife (thin blade, for gently pushing teeth back into place)
- A lubricant spray safe for leather and zippers
The Steps
1. Find the exact spot where it's catching. Move the slider back and forth to locate precisely where the teeth aren't lining up — that's the only spot you need to work on.
2. Rig up a hook for leverage. Thread a small Allen wrench (or a paper clip) through the hole where the pull tab used to attach. This gives you something to pull and guide the slider with, even without the original tab.
3. Use the knife to realign the teeth, one at a time. Gently push the metal teeth back into an interlocking line using the flat of the blade — not cutting, just nudging them back into position where they've splayed apart.
4. Wiggle the slider forward as you go. As each section of teeth lines back up, guide the slider past it toward the lens/end of the zipper. Repeat the interlock-and-advance process section by section.
5. Keep going until the slider reaches the end of the track. Don't rush past a section that's still catching — fully realign each spot before moving to the next.
6. Lightly spray with a leather-safe lubricant. This helps the slider glide smoothly once the teeth are back in alignment.
7. Test the full range of motion, zipping all the way up and back down, before calling it done.
Prefer to watch?
Here is the video on YouTube.
The Result
The zipper moved smoothly through its full range after the fix — no replacement needed.
A Note on "Your Situation Might Be Different"
This technique fixes zippers where the teeth have splayed apart or misaligned, which is the most common cause of a "stuck" zipper. It won't help if teeth are actually broken off or missing, or if the fabric zipper tape itself has torn — at that point, you're looking at a real replacement, not a realignment.
Homeowner Intelligence
💰 What I saved doing this myself: This fix cost nothing — just tools already on hand. A cobbler or tailor zipper repair commonly runs $20-40+, and replacing the boots entirely costs far more than that.
Why this fix works (not just the steps): Most "broken" zippers aren't actually broken — the metal teeth have just splayed apart and stopped interlocking correctly. Realigning them, rather than replacing the whole zipper, is often all that's needed.
Trickiest part of this fix: Precisely nudging tiny metal teeth back into line with a blade, without slipping and marking the leather or fabric — and improvising a grip point after the original pull tab broke off.
How to know you're doing it right: The slider moves past the repaired section without catching, and the teeth visibly sit in a straight, interlocked line as you go.
When to stop and accept it needs replacing: If teeth are actually missing (not just bent) or the fabric zipper tape is torn, this technique has nothing to grab onto — that's a full zipper replacement, not a quick fix.
What I'd do differently next time: Have lubricant spray on-hand and have better lighting so my eyes don't strain as much trying to see the teeth interlocking.
Before You Wrap Up
✓ Double-check: Zipper moves freely in both directions, every tooth is interlocked, and your improvised pull (or a replacement tab) is secure.
💰 Save money next time: Keep a small zipper lubricant or wax on hand — a quick spray at the first sign of sticking can prevent a full jam before it happens.
➜ Watch next: Check out more videos in our DIY Fixes & Repairs playlist.
Want the full toolkit for projects like this one? Toolkit gives you downloadable guides, checklists, and real project help.
🛠 Tools & products I love: Amazon Storefront | Lowe's Storefront
This post is for informational purposes and isn't a substitute for professional repair advice. Please use your own judgment, and consider a professional cobbler or tailor if the fix doesn't hold.
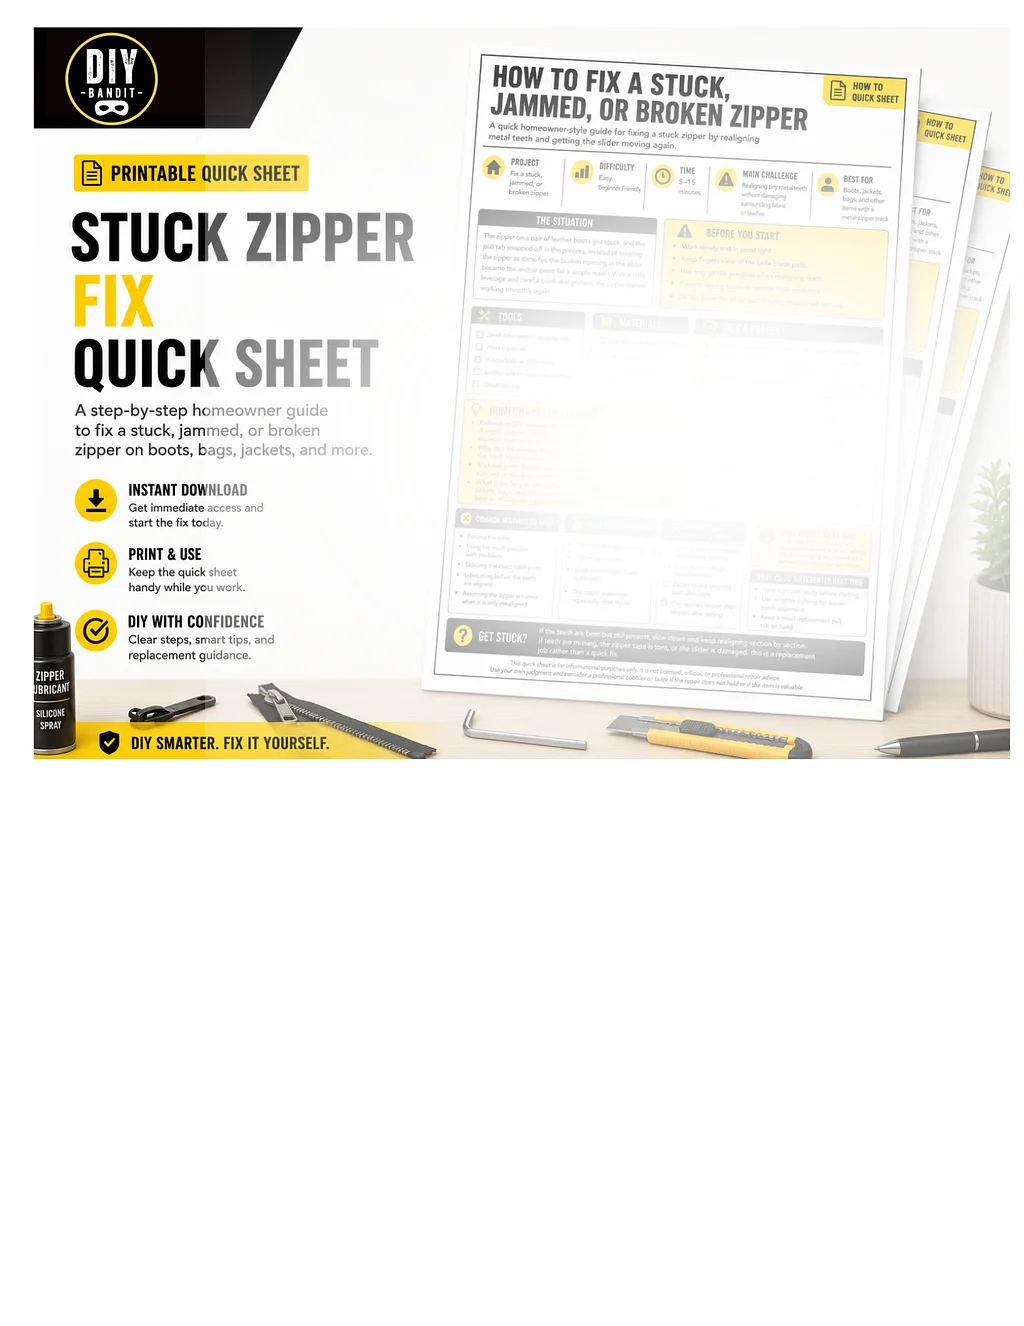
Get the Quick Project Sheet
Want the printable Quick Sheet for this exact project? That's exactly what the Homeowner's Toolkit is for — join here for downloadable project guides and direct help with your own DIY work.