
How to Change a Tire on a Subaru Forester (Check This Before You Jack It Up)
Here's how I swapped a wheel on our 2011 Subaru Forester — where the jack and spare live, how the anti-theft lug nut works, where the jack actually goes, and the torque sequence at the end. The most useful part of this whole thing happened in the first two minutes, before the car ever came off the ground, and it's the step almost nobody does.
Quick Facts
- Project: Removing and replacing a wheel on a Subaru Forester using the factory jack and spare
- Difficulty: Moderate — none of it is complicated, but a car on a jack is unforgiving of shortcuts
- Time: About 30–45 minutes working carefully; faster once you've done it
- Main challenge: Breaking loose the anti-theft lug nut, and getting the jack on the correct lift point
- Best for: Someone who wants to know their car before they're stuck on a shoulder at night
- Call a professional when: You're on a slope, on soft ground, on a highway shoulder, or anything about it feels wrong — a tow truck is cheaper than the alternative
The Situation
This wasn't an emergency. I did it in my own garage, on dry flat pavement, with time to look things over — which is exactly the point.
The worst possible moment to learn where your jack is, which lug wrench fits, and whether your anti-theft key actually works is while you're standing on the side of a road in the dark with traffic going by. So I ran the whole thing as a dry run, and I found a problem I'd much rather find at home.
⚠️ Before You Start — Read This Part
I'm not a mechanic. Everything below is what I did on my own vehicle, not instruction for yours.
This one has real consequences if it goes wrong, so a few things I'm not going to soften:
- Flat, hard, level ground only. I was on pavement. A jack on gravel, grass, dirt, or any slope can sink or shift, and a car coming off a jack is a catastrophic event, not an inconvenience.
- I never got under the car, and I wouldn't. A scissor jack holds a car up. It is not something to trust your body to. If a job requires getting underneath, that's jack stands and a different skill set than this.
- If you're on a highway shoulder, strongly consider just calling for a tow. Passing traffic is the actual danger in most roadside tire changes, not the tire.
- As I said in the video: if you're not comfortable doing any of this, don't. Call a tow truck or a mechanic. There's no prize for doing it yourself.
Your Forester's owner's manual is the authority on jack points and torque specs — not me, and not the internet.
What I Used
- Factory spare kit — donut spare, scissor jack, and lug wrench, all stored under the trunk floor
- Anti-theft lug nut adapter — the keyed socket that comes with the car
- Torque wrench — a cheap one, which is still infinitely better than none
- Socket and adapter — these lugs are 3/4 inch or 19mm; those are effectively the same size, so either works
- Impact wrench - tightened lugnuts down
- A scrap piece of wood — placed at the adjacent rear wheel
- Optional: a drill with a bit that fit the jack (more on that below)
- Suggested: a rag or sponge to pad your hand on the lug wrench
What I Did
1. Checked the existing torque before touching anything. I put the torque wrench on and applied pressure to see where the lugs were sitting. They didn't move at 60. They didn't move at 80. So they were at least 80 ft-lb, which is roughly where I wanted them. Looking it up online gave me a spread of opinions, but around 80 was the consensus for this model. Check your owner's manual for your car's actual spec — that's the number that matters, not mine.
2. Tested whether the anti-theft lug would actually come off — before jacking. This is the single best thing in the video, and it's thirty seconds of work. I tried to break the anti-theft lug loose with the tools I had in hand, and I couldn't. I did not have the right piece. I'm very glad I found that out standing in my driveway instead of on a shoulder at 10pm. The key lives in the spare kit under the trunk floor, and once I had it, it worked. If you do nothing else from this post, go check that your key is in your car and that it turns.
3. Got the spare kit out from under the trunk floor. Lift the panel and it's all there — donut, scissor jack, lug wrench, and the adapter. Worth knowing where that is before you need it.
4. Broke the anti-theft nut loose with some persuasion. It was on tight. I put the lug wrench on the adapter, angled it, and protected my hand while I leaned on it. It took real effort. This is where that rag-or-sponge tip earns its keep — padding the end of the handle makes a stuck lug a lot less painful.
5. Chocked the opposite wheel with wood. I put a scrap block at the adjacent rear wheel so the car couldn't roll. Takes ten seconds.
6. Loosened all five lug nuts while the wheel was still on the ground. Not off — just loosened. With the tire's weight planted, the wheel can't spin while you break the nuts free. Try this with the wheel in the air and it just rotates. The last one was stubborn. Then I jacked.
7. Found the pinch weld. The scissor jack goes on the pinch weld along the underside of the body, and on this car there's a molded indicator showing you where. That's the reinforced spot engineered to carry the car's weight. Put a jack somewhere else on a unibody car and you bend sheet metal or worse. I'm no mechanic, but the arrow is there for a reason and I used it.
8. Raised the car — and tried a shortcut that half worked. The jack raises by twisting a threaded rod, and there's no proper crank tool in the kit; you get an Allen wrench and a flathead screwdriver, neither of which is pleasant. I found a bit that fit the jack's end and ran it with a drill. It did lift the car, and then my battery died partway through. So I'll call that a partial success — if you don't have a drill, or your battery quits like mine did, the provided tool or a screwdriver gets it done, just slower. Raise it only high enough to clear the wheel, and remember this is an emergency jack: I wasn't leaving the car up there any longer than necessary.
9. Pulled the wheel, mounted the spare. Lug nuts spin off by hand at that point. The spare goes on and the nuts thread back on — by hand first. Don't start them with a tool; cross-threading a stud is an expensive mistake.
10. Hand-tightened in a five-point star pattern. One, two, three, four, five — skipping across the wheel rather than going around the circle. Star pattern pulls the wheel onto the hub evenly. Going around in order can seat it crooked. I wiggled it back and forth to confirm it was sitting flat before snugging everything down.
11. Lowered the car, then torqued. Order matters here. Final torque goes on with the wheel back on the ground, not while it's hanging in the air. Then I brought each lug to 80 in the same star pattern — on a cheap beam-style wrench, you're watching the needle and feeling the moment it stops turning.
12. Put the kit away and set a reminder. Everything back under the trunk floor. I plan to drive about 50 miles and then re-check the torque — lug nuts can settle after a wheel change, and that re-check is the step most people skip.
Prefer to watch?
Here is the video on YouTube.
The Result
Spare on, torqued to spec, tools stowed, and I know for certain that my anti-theft key is in the car and that it works. That last part is the real deliverable. The donut is an emergency tire, not a solution — it's there to get you to a shop, not to live on.
A Note on "Your Setup Will Probably Be Different"
Mine is a 2011 Subaru Forester with factory wheels and an anti-theft lug, done on dry level pavement with no time pressure.
Lug size, torque spec, and jack point location vary by make, model, and year — 3/4 inch and 80 ft-lb are what applied to my car, and your manual is the only source that counts for yours. Not every vehicle has anti-theft lugs, and if yours does, the key may be in the glovebox rather than the spare kit. Some vehicles carry a full-size spare instead of a donut, and some newer ones carry no spare at all, just a sealant kit — worth finding out which you have before you need it. And a real roadside change happens on a shoulder, possibly in rain, possibly in the dark, which is a different situation than a driveway in every way that matters.
🧠 Homeowner Intelligence
💰 What I saved doing this myself: A roadside assistance call for a tire change typically runs somewhere in the range of a tow-service fee if you're not covered by a plan. But the real value isn't the one-time savings — it's the dry run. Discovering a missing or non-working anti-theft key in your driveway costs you nothing. Discovering it on a shoulder costs you a tow and several hours.
Why this matters (not just the steps): Two details do most of the work. Loosening the lugs before lifting, because a wheel in the air just spins. And torquing after lowering, because applying final torque to a wheel that's hanging can seat it unevenly. Get those two in the wrong order and everything else you did correctly stops mattering.
Trickiest part of this project: The anti-theft lug, by a wide margin. It was on tight enough to need real force and a hand-protecting grip — and before that, I didn't have the right piece on hand at all. That one nut is the whole reason to practice this before you need it.
How to know you're doing it right: The jack sits on the pinch weld indicator, not on sheet metal. The wheel sits flat against the hub with no wobble when you wiggle it. Every lug came up to spec in a star pattern with the car on the ground. And nothing you did required you to be underneath the vehicle.
When to stop and call a professional: Soft ground, any slope, a highway shoulder with traffic, a lug you genuinely cannot break loose, damage to the wheel studs, or any point where you'd have to get under the car. I'm not getting under a car on a scissor jack and neither should anyone else.
What I'd do differently next time: Charge the drill battery first — mine quit mid-lift. More usefully: I'd keep a rag or sponge in the spare kit permanently for padding the lug wrench handle, and I'd make checking the anti-theft key part of a yearly routine rather than something I happened to discover while filming.
Before You Wrap Up
✓ Double-check: Lug nuts torqued to your manual's spec with the car on the ground, in a star pattern. Jack and all tools back in the trunk — including the anti-theft key. Spare pressure checked. And put a reminder in your phone to re-check the torque in about 50 miles.
💰 Save money next time: Do this once in your driveway before you ever need it. Finding out your key is missing, your jack is seized, or your spare is flat costs nothing on a Saturday afternoon and costs you a tow on a Tuesday night.
➜ Watch next: Check out more videos in our Car / Garage series.
Want the full toolkit for projects like this one? Toolkit gives you downloadable guides, checklists, and real project help.
🛠 Tools & products I love: Amazon Storefront | Lowe's Storefront
⚠️ This post is meant to help with your own project or purchase decision — not to replace professional advice. Please consider the risks before starting any project, and know that you're responsible for your own results. I'm not a licensed contractor, mechanic, or expert, and this channel is not liable for any damage, injury, or loss related to anything shown here. Any action you take based on this video is at your own risk. A vehicle supported only by a jack can fall and cause fatal injury — never place any part of your body under a vehicle supported by a jack, work only on firm level ground, and consult your owner's manual for your vehicle's correct jack points and torque specifications.
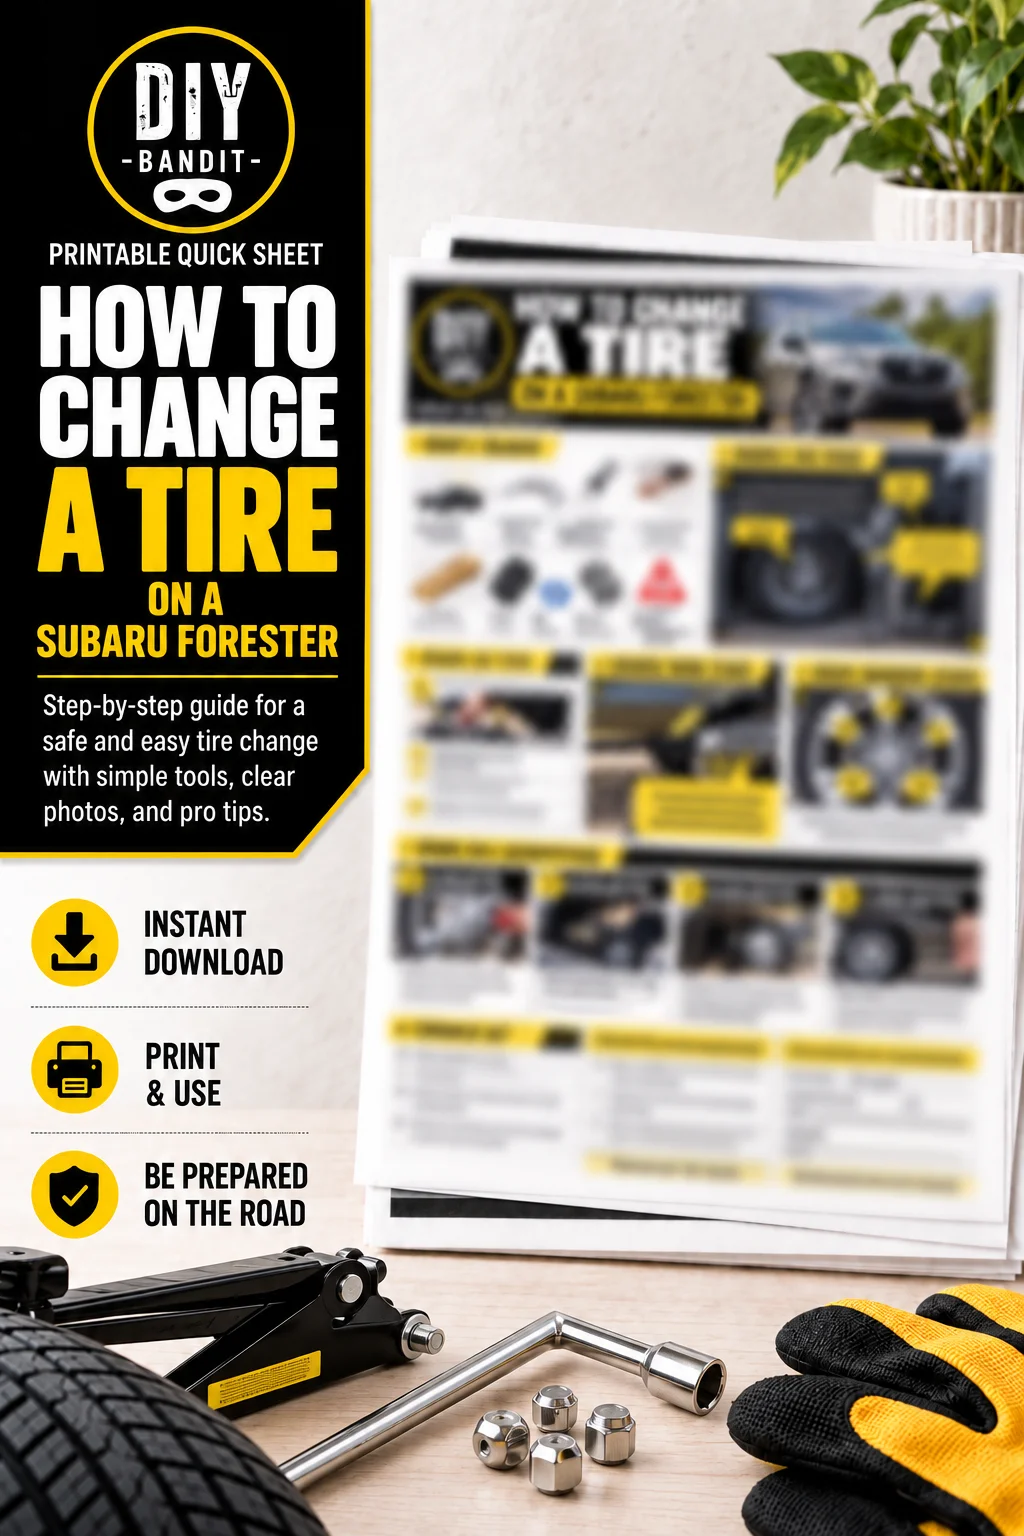
Get the Changing Tire Guide
Want a printable document? That's exactly what the Homeowner's Toolkit is for — join here for downloadable project guides and direct help with your own DIY work.