
Part 5
How I Dried Water Trapped Under My Vinyl Plank Floor | Kitchen Leak Disaster
This is the last problem left from the whole series: water had worked its way under the vinyl plank flooring itself, and the floor was genuinely squishy underfoot. Here's how I dried it out without tearing up a single plank.
Quick Facts
- Project: Drying water trapped underneath a floating vinyl plank floor
- Difficulty: Moderate — not physically hard, but requires patience and monitoring over several days
- Time: A couple of days, on and off, checking periodically until fully dry
- Main challenge: Getting real airflow underneath the floor without removing any flooring or damaging the transition strip
- Best for: Floating vinyl plank floors specifically — this approach relies on how that flooring is installed
- Call a professional when: If your flooring isn't a floating click-lock system, if you can't access an edge or transition strip, or if the moisture has been sitting long enough that subfloor damage or mold is a real concern
The Situation
Quick recap of the series: a slow leak under the kitchen sink saturated the cabinet and worked its way under the floor. By this point, the pipe was replaced, the cabinet was dried out, and the low water pressure from sediment buildup was fixed. The last problem: the vinyl plank floor itself was saturated, with water visibly coming up through the seams.
⚠️ Before You Start
I'm not a flooring professional or a water damage restoration specialist — this is what I did on my own floor (or family's, rather), not professional instruction. One specific safety note from this project: if you try the leaf-blower method described below, know that a leaf blower isn't designed for long, continuous running, and it should never be left unsupervised. Monitor it the whole time it's running.
What I Used
- Leaf blower (do not run unattended)
- Shop vac (wet function)
- Fan
- Dehumidifier
- Hammer
- Pry tool
- Moisture meter (to confirm when things were actually dry, not just guessing)
What I Did
1. Figured out how the floor was actually built before doing anything else. I removed the dishwasher's kick plate and pulled the fridge out to see if I could find the floor's edge. That told me the flooring was installed before the cabinets and appliances were set on top of it — meaning the floor's lateral edges run all the way to the wall, inaccessible without removing baseboard. That single fact determined the entire approach: I couldn't work from an edge, so I had to find another way in.
2. Vacuumed standing water out of the seams with a wet/dry shop vac. Slow, methodical work directly over the visible seams where water was coming up.
3. Set up airflow and a dehumidifier around the open cabinet and dishwasher area to start pulling moisture out generally, while I worked on getting air underneath the floor specifically.
4. Carefully removed the transition strip near the dishwasher. This was the key move — rather than removing flooring, I used a paint scraper and hammer to sever the brad nails holding the strip down, one at a time, being careful not to damage the strip itself since replacing it would have been its own separate problem.
5. Confirmed moisture right where I expected it, once the transition strip was out.
6. Gently pried up the seam between two planks — just enough to create a gap, roughly a quarter to half an inch, using a paint scraper and pry tool together. Not further than that — lifting too far risks disconnecting the click-lock planks from each other.
7. Started with a box fan pointed down into the gap. It worked, but the airflow wasn't concentrated enough to be efficient.
8. Switched to a leaf blower, flipped upside down so the motor faced up, giving genuinely concentrated airflow with enough force to visibly lift the floating floor as it blew underneath. This is not how a leaf blower is meant to be used — it required active supervision the entire time, watching that the motor didn't overheat, since it's not built for sustained running.
9. Repeated this drying process over a couple of days, on and off, checking with a moisture meter until there was no more moisture underneath and nothing coming through the seams anymore.
10. Planned to reapply the transition strip once everything was confirmed fully dry. I also checked the floor below to make sure ceiling had no water damage.
Prefer to watch?
Here is the video on YouTube.
The Result
The floor dried out completely without removing a single plank, and the transition strip was intact and ready to go back on. Series wrap: back to baseline, mission accomplished.
A Note on "Your Setup Will Probably Be Different"
This approach depends specifically on having a floating vinyl plank floor with an accessible transition strip or edge somewhere. Hardwood, tile, and glue-down vinyl don't respond to this method the same way — the whole technique relies on the floor being able to lift slightly at the seams without damage, which is specific to floating click-lock flooring.
Homeowner Intelligence
💰 What I saved doing this myself: Professional water damage restoration or a full flooring tear-out and replacement can run into real money depending on square footage — often several hundred to a few thousand dollars for a kitchen-sized area. This approach cost nothing beyond most tools already on hand.
Why this matters (not just what happened): Understanding the actual construction sequence of the house — floor laid first, then cabinets and appliances installed on top — is what made the whole plan possible. Without knowing that, the instinct would be to try working from an edge that, in this house, simply isn't accessible.
Trickiest part of this stage: Removing the transition strip without damaging it (replacing it would have created a whole new problem), and being careful not to lift the seam far enough to disconnect the interlocking planks.
How to know you're doing it right: No more moisture reading on a moisture meter (if you can access the floor), no more water visible at the seams, and the leaf blower's motor staying cool throughout each session rather than running hot.
When to stop and call a professional instead: If you can't find an accessible transition strip or edge to work through, if your flooring type isn't a floating vinyl system, or if the water's been sitting long enough that subfloor damage or mold is a realistic concern rather than just surface moisture.
What I'd do differently next time: After leak was contained, I would have started drying floor more quickly than I did (it had taken me a couple of days at least since I was dealing with many other aspects of this project).
Before You Wrap Up
✓ Double-check: No moisture reading underneath the floor, no water at the seams, transition strip reinstalled cleanly, and the leaf blower was never left running unsupervised during the process.
💰 Save money next time: Learn how your specific flooring was installed (before or after cabinets/appliances) before you're in an emergency — it tells you immediately whether an edge-access approach like this one is even possible.
➜ Watch next: That's a wrap on this series! If you missed how it started, check out Part 1. Or check out more videos in our Kitchen playlist.
🛠 Tools & products I love: Amazon Storefront | Lowe's Storefront
This post is for informational purposes and isn't a substitute for professional plumbing or floor restoration work. Please use your own judgment and consider hiring a licensed plumber or restoration expert if you're not comfortable with this kind of project.

Get the Wood Moisture Guide
Want the printable resource related to this exact project? That's exactly what the Homeowner's Toolkit is for — join here for downloadable project guides and direct help with your own DIY work.
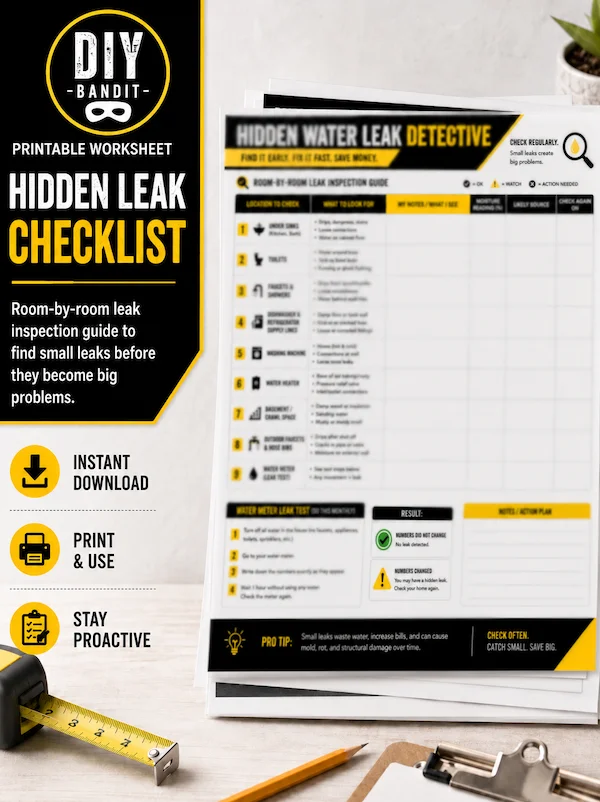
Get the Leak Checklist
Want another printable checklist for home leaks? That's exactly what the Homeowner's Toolkit is for — join here for downloadable project guides and direct help with your own DIY work.

Get the Emergency Map
Want the printable resource related to this exact project? That's exactly what the Homeowner's Toolkit is for — join here for downloadable project guides and direct help with your own DIY work.