
Part 3
The Water's Back On — Now the Real Test Begins | Kitchen Leak Disaster
Picking up right where Part 2 left off: new valve threaded in, new pipe seated in the wall, and my wife standing at the street-side shutoff waiting for the word. Here's what actually happened the moment the water came back on, how I confirmed everything was actually leak-free, and where things stand with the water-damaged cabinet underneath.
Quick Facts
- Project: Turning the water main back on, testing all connections for leaks, hooking up the dishwasher and hot water faucet supply lines, and starting to dry out the saturated cabinet
- Difficulty: Easy to moderate — mostly patience and careful observation, plus basic hand-tool connections
- Time: Roughly an hour for testing and hookups, then several days of ongoing drying
- Main challenge: Confirming there were genuinely no leaks before considering this done, and being patient with a drying process that takes way longer than it looks
- Best for: Someone who's already done the pipe and valve work (see Part 2) and is ready to test, connect, and start drying
- Call a professional when: If you can't pin down where a leak is actually coming from, or if wood moisture readings stay stubbornly high after days of active drying — that's when it's worth bringing in a restoration pro instead of continuing to guess.
The Situation
Coming into this stage, the new dual shutoff valve and new copper pipe were installed and threaded into the wall. The real test hadn't happened yet — turning the main water supply back on to the house and finding out, for better or worse, whether that work actually held.
⚠️ Before You Start
I'm not a plumber, and everything here is what I actually did, not professional guidance. One thing worth repeating from the video: if your outlets don't have covers on them, get that fixed before you do any work involving water nearby. Water and exposed electrical outlets should never be anywhere near each other.
What I Used
- Bucket and towel (for the inevitable splash)
- Box fan
- Moisture meter
- Small dehumidifier, sized to fit inside the cabinet
- Braided supply lines (dishwasher line and hot water faucet line)
- Small wrench for snugging the supply line fittings
What I Did
1. Turned the water main back on, slowly. My wife was at the street-side shutoff, with the kids relaying instructions back and forth between us.
2. Water splashed out immediately. The quarter-turn valve was actually open, not closed. On this particular valve model, you can't see the little ball inside the inlet to confirm whether it's open or closed the way you can on most valves — I was guessing 50/50, and guessed wrong.
3. Cleaned up the splash with the bucket and towel. No real harm done, just a mess to mop up.
4. Left the main on and deliberately held off on connecting the inlets. Before hooking up the dishwasher and faucet supply lines, I wiped down the pipe dope on the copper-to-elbow and valve-to-copper junctions and watched for beads forming. Doing this first meant that if a leak showed up, I'd know it was coming from that pipe work specifically, and not from the inlet connections I hadn't made yet.
5. Confirmed dry after a few minutes of watching. No beads, no drips at either junction.
6. Hand-tightened the two inlet fittings. These screw directly onto metal threads — no tape or pipe dope needed here, unlike the pipe connections in Part 2. One line goes to the dishwasher, the other supplies hot water only to the faucet.
7. Snugged both fittings with a small wrench. Firm and secure, but not overtightened.
8. Turned on the valves feeding both braided supply lines.
9. Ran the water and checked it. It came out noticeably brown at first — let it run and clear out. Also noticed the hot water flow was running low, which is a separate issue to deal with later.
10. Checked every connection again for leaks. Everything came back dry.
11. Started drying out the cabinet with a box fan. The cabinet had been thoroughly soaked and saturated from the original leak. I pointed a box fan at it on high speed and let it run continuously.
12. Used a moisture meter after about 20 hours of fan time. The wood felt dry to the touch by then, but "feels dry" and "is dry" aren't the same thing — the meter is the objective measurement. I took a baseline reading on normal, unaffected wood, then compared it to the wet wood: still reading 24%.
13. Planned the next drying phase. Over the following days, a small dehumidifier goes inside the cabinet, cracked slightly rather than sealed shut since the unit still needs airflow to work. Moisture levels get checked daily until that number comes down.
Prefer to watch?
Here is the video on YouTube.
Where This Leaves Off
Every connection tested dry — the copper-to-elbow junction, the valve-to-copper junction, and both new supply line fittings. Water's flowing to the dishwasher and the hot water side of the faucet again, though flow is still noticeably low on the hot side (more on that in Part 4). Twenty hours of fan time got the cabinet dry to the touch, but the moisture meter told a different story: 24% against a normal baseline reading. The cabinet isn't done drying — it's just started.
A Note on "Your Setup Will Probably Be Different"
Not every shutoff valve hides its ball position the way mine did — most let you see it as you turn. If yours doesn't, treat it as open until you've confirmed otherwise, and keep a bucket handy just in case. Drying times will vary a lot depending on your climate, humidity, and how saturated the wood actually got — don't expect the same 24% reading or the same timeline.
Homeowner Intelligence
💰 What I saved doing this myself: Same emergency plumber estimate from Part 1 — roughly $500 for a call 30 miles out. This stage cost the price of a box fan, a moisture meter, and a small dehumidifier — no professional involved.
Why this matters (not just what happened): Turning the main back on before connecting the inlets was a deliberate choice, not an accident — it let me isolate exactly where a leak would be coming from if one showed up, rather than testing everything at once and having to guess which connection failed.
Trickiest part of this stage: Guessing blind on the valve position, and resisting the urge to call the drying process finished just because the wood felt dry to the touch — it wasn't.
How to know you're doing it right: No beads forming on the pipe dope after several minutes of watching, supply line fittings snug but not overtightened, and moisture meter readings trending down day over day rather than staying flat.
When to stop and call a professional instead: If moisture readings stay elevated despite days of active fan and dehumidifier use, or if you notice a mold or mildew smell developing — that's a sign the drying approach isn't keeping up and it's time for a restoration pro.
What I'd do differently next time: Figure out the valve ball and level on/off position before installing! Also, start drying the cabinet much earlier; also I would pay attention to the flow rate before vs. after to see if the flow issue started as a result of the new valve or sediment pushing its way through creating reduced flow.
Before You Wrap Up
✓ Double-check: Valve position confirmed (not just assumed), all connections snug with no beads or drips after time, and moisture meter readings trending downward rather than flat.
💰 Save money next time: A small dehumidifier sized for the cabinet space, paired with a moisture meter, may be enough — no need to rent a large-capacity unit for a contained area like this.
➜ Watch next: Part 4 of this series — tackling the low water flow issue and the wet subfloor under the vinyl flooring. Or check out more videos in our Kitchen playlist.
🛠 Tools & products I love: Amazon Storefront | Lowe's Storefront
This post is for informational purposes and isn't a substitute for professional plumbing work. Please use your own judgment and consider hiring a licensed plumber if you're not comfortable with this kind of project.

Get the Wood Moisture Guide
Want the printable resource related to this exact project? That's exactly what the Homeowner's Toolkit is for — join here for downloadable project guides and direct help with your own DIY work.
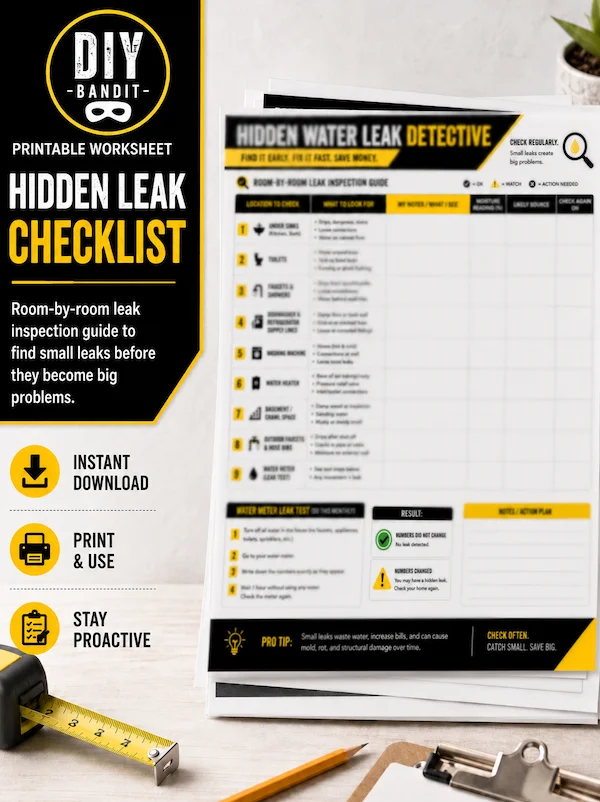
Get the Leak Checklist
Want another printable checklist for home leaks? That's exactly what the Homeowner's Toolkit is for — join here for downloadable project guides and direct help with your own DIY work.

Get the Emergency Map
Want the printable resource related to this exact project? That's exactly what the Homeowner's Toolkit is for — join here for downloadable project guides and direct help with your own DIY work.