
What Asphalt Driveway Sealing Cost Me — and What I'd Ask Before Booking
We just had our asphalt driveway resurfaced and sealed, and the before-and-after is night and day. I did not do this one myself — despite the name of the channel, I know my limits, and I don't have the equipment for this. But I learned a pile of things along the way that nobody told me up front, and a few of them would have saved me money or hassle if I'd known before booking. Here's all of it, including what I actually paid.
Quick Facts
- Project: Having an asphalt driveway professionally resurfaced and sealed
- Difficulty: Easy for you — this is a hire-it-out job; the work is in the planning and the vetting
- Time: Several weeks of scheduling back-and-forth, a few hours of actual work, then 24–72 hours of staying off it
- Main challenge: Weather and scheduling — and getting the quote nailed down so it doesn't move at the end
- Best for: Any homeowner with asphalt; the prep and the questions are where you add value, not the sealing itself
- Call a professional when: For the sealing itself, always — this needs equipment most homeowners don't have and won't rent for one driveway
The Situation
Our driveway looked awful. Faded, gray, cracked, and generally tired-looking. It's a big driveway, so this wasn't a small job. I got quotes. Most of them came back somewhere around $1,200 to $1,500, which is real money for something that's ultimately cosmetic-plus-protective. Then I found a younger guy running a one-man operation, looking to build his business in this area. His number was $500. That gap is the single most useful thing in this entire post, so I'll come back to it.
⚠️ Before You Start — Read This Part
I'm not a licensed contractor, and I didn't do this work — a professional did. This post is what I learned as the homeowner hiring it out, not instruction for doing it yourself.
One thing worth naming: the smell is genuinely awful. It reeks, and it lingers. I found myself standing there wondering what the long-term effects are for the guys who breathe this in day after day. I don't have an answer for that, and I'm not qualified to give you one — but if anyone in your house is sensitive to fumes, it's worth asking your contractor directly about the product they're using and how long to stay clear of it. That's a question for them, not for me.
And if you decide to do any crack repair yourself before the sealing, read the product instructions rather than my summary of them. I'm telling you what I learned, not what you should do.
What I Used
This is a short list, because I wasn't the one doing the work:
- A weed whacker — mine, for my own prep along the edges
- Blower - prep with this
- A written quote — the most important item on this list
- A weather forecast — checked obsessively
- A parking plan — see below, this catches people
- Asphalt crack repair caulk and backer rod — mentioned in the video as the DIY option for gaps, not something I used this time
On the contractor's side: a broom to scrape the surface, an air blower to clear it, and the sealing equipment itself.
What I Did
1. Got quotes — and found the gap. Established outfits quoted me $1,200 to $1,500. The guy I hired quoted $500 for the same significant driveway. He wasn't cheap because he was bad; he was cheap because he's newer, hungry, and has something to prove. He did a fantastic job and was polite the whole way through. Look for the person with skin in the game — but do the research and check that they've got good reviews. Cheap plus no reviews is a different story entirely.
2. Got it in writing — and still got upcharged. Here's the one that stung a little. We had a written quote. At the end, he told me it'd be a bit more, because sealing and crack filling are two separate things. Filling means extra supplies and extra labor on his end, and it wasn't spelled out in what we'd agreed to. It was about fifty bucks. I could have been a jerk about it, but the work was good and he'd been straight with me, so I paid it. Get the crack filling explicitly itemized in the written quote — not just "sealing," and not a verbal handshake. That's a five-second question that prevents an awkward conversation at the end.
3. Accepted that scheduling was going to be a mess. We went several weeks of back and forth. Yes he's coming, no he isn't. Part of that was organization, but a lot of it was weather — light rain, heavy rain, each one pushing or canceling the day. Build that into your expectations. If you need this done by a specific date, start the conversation much earlier than you think you need to.
4. Did my own edge prep. He came through and scraped the surface with a broom, then cleared it with an air blower. He had a weed whacker too — but I wanted to do that part myself. I got the grass cut well back off the edges so the coating could run right out over the edge and cover as much as possible. It actually encroaches into the yard a bit now, and I'm fine with that; it'll settle over time. This is optional and I'm admittedly a bit of a control freak about it. But it's free, and it's the one part of this job where a homeowner can genuinely improve the result.
5. Learned what I should have done about the gaps — a week earlier. We had some significant gaps in the asphalt. They're sealed now, and for the most part it's flush and straight, but there are still visible indentations where the gaps were deep. If you want to minimize that, you've got two options: talk to your contractor about it beforehand, or handle it yourself. The DIY route is asphalt repair caulk, which comes in a caulk bottle — you push backer material down into the gap, then run the caulk over it. The critical part: that has to be done well before the sealing, because it needs time to cure — a week or longer depending on the product. If it's not cured, you can end up with adhesion problems when the sealer goes over it. Read the instructions on whatever product you buy; don't go off my timeline.
6. Made a parking plan. You can't drive on it for 24 to 48 hours, and the guy told me longer is better — 72 hours beats 24. It keeps hardening over time. No heavy equipment on it. You can walk on it after roughly 24 hours. Figure out where the cars are going before the crew shows up, not the morning of.
7. Watched the forecast and hoped. After it's sealed, you want no rain for about 24 hours. A light sprinkle is probably survivable. Heavy rain is not what you want on fresh sealant. Check the forecast before you commit to the day.
8. Asked the questions while he was still standing there. This is the part most people skip, and it's free. I asked how the driveway looked structurally — he said the original asphalt was laid thick, which is good news. I asked when I'd need to do this again: every two years or so. Winter is what destroys it. Two winters is the target, maybe three, but three is pushing it.
9. Got the snow plow tip that'll save the whole job. This was the best thing he told me. If you plow your driveway or have it plowed, keep the blade raised about a quarter inch off the ground. A plow blade riding directly on the surface grinds the sealant off over the course of a winter — that's where most of the damage comes from. Depending on your driveway size, a plastic shovel is another way to go. Two years of sealant life can hinge on this one detail.
Prefer to watch?
Here is the video on YouTube.
The Result
Night and day. It went from faded and cracked to a sea of black — I'll admit I got a little poetic about it on camera. The gaps are sealed, the surface is mostly flush, and the whole place looks better from the street. We live in a wooded area, so despite all the prep we're inevitably going to get leaves and small rocks landing on it. It's not going to be perfect. It doesn't need to be. Total: $500, against quotes of $1,200–$1,500 elsewhere. We're counting that as a win and hoping for the same number in two years.
A Note on "Your Setup Will Probably Be Different"
Mine is a large asphalt driveway in a wooded lot, originally laid thick, resealed by a local one-man operation. Your pricing will swing hard on square footage and region — $500 on a small driveway would be a bad deal, and on a huge one it'd be a steal. Your resealing interval depends on your winters; a mild-climate driveway may stretch well past two years. And if your asphalt was laid thin or is already crumbling rather than just cracked, sealing is cosmetic and you may be looking at a bigger conversation about replacement. The parts that transfer regardless: itemize the quote, cure your crack repairs before sealing, raise the plow blade, and ask your contractor the maintenance questions while they're still in your driveway.
Homeowner Intelligence
💰 What I saved doing this myself: This is the rare project where I didn't save money by doing it myself — I saved it by who I hired. $500 against $1,200–$1,500 in competing quotes is $700 to $1,000 kept, for the same job, done well. The only part I did myself was the edge prep with the weed whacker, and that saved no money at all. It just made the result better.
Why this matters (not just the steps): The instinct with home services is that the established company with the big truck is the safe choice and the cheap guy is the risk. Sometimes that's true. But a newer contractor building a reputation in your area has a reason to do careful work that a booked-solid outfit doesn't — and the price difference isn't a discount on quality, it's a discount on overhead and name recognition. Reviews are how you tell the difference between hungry and unqualified.
Trickiest part of this project: The scheduling. Weeks of back-and-forth, with weather canceling days at a time. Nothing about the work itself was hard for me — the hard part was not being able to plan around it.
How to know you're doing it right: The coating runs cleanly out to the edges with no bare strip along the grass line. Gaps are filled and mostly flush, with any remaining indentations shallow rather than open. And you stayed off it long enough — at least 24 hours on foot, 48 to 72 before a car.
When to stop and call a professional: For the sealing itself, that's the whole answer. I have 25 years of DIY behind me and four houses, and I hired this out without hesitating. The equipment isn't something you rent for one driveway, and a bad seal job is visible from the street for two years.
What I'd do differently next time: Two things. First, I'd get the crack filling itemized in the written quote up front instead of discovering it was separate at the end. Second, I'd do the caulk-and-backer crack repair myself a week or more before the crew came, so it had time to fully cure — that's the difference between the shallow indentations I've got now and a genuinely flat surface.
Before You Wrap Up
✓ Double-check: Crack filling is itemized in the written quote, not assumed. You've got a parking plan for 48–72 hours. The forecast is clear for at least 24 hours after. And you've asked the contractor when the next reseal is due before they drive away.
💰 Save money next time: Ask three established companies for quotes so you know the market number — then find the newer contractor with real reviews building a business in your area. That spread was $700 to $1,000 on my driveway alone.
➜ Watch next: Check out more videos in our Yard / Outside series.
Want the full toolkit for projects like this one? Toolkit gives you downloadable guides, checklists, and real project help.
🛠 Tools & products I love: Amazon Storefront | Lowe's Storefront
⚠️ This post is meant to help with your own project or purchase decision — not to replace professional advice. Please consider the risks before starting any project, and know that you're responsible for your own results. I'm not a licensed contractor or expert, and this channel is not liable for any damage, injury, or loss related to anything shown here. Any action you take based on this video is at your own risk. Asphalt sealant produces strong fumes — follow your contractor's guidance on how long to stay clear of a freshly sealed surface.
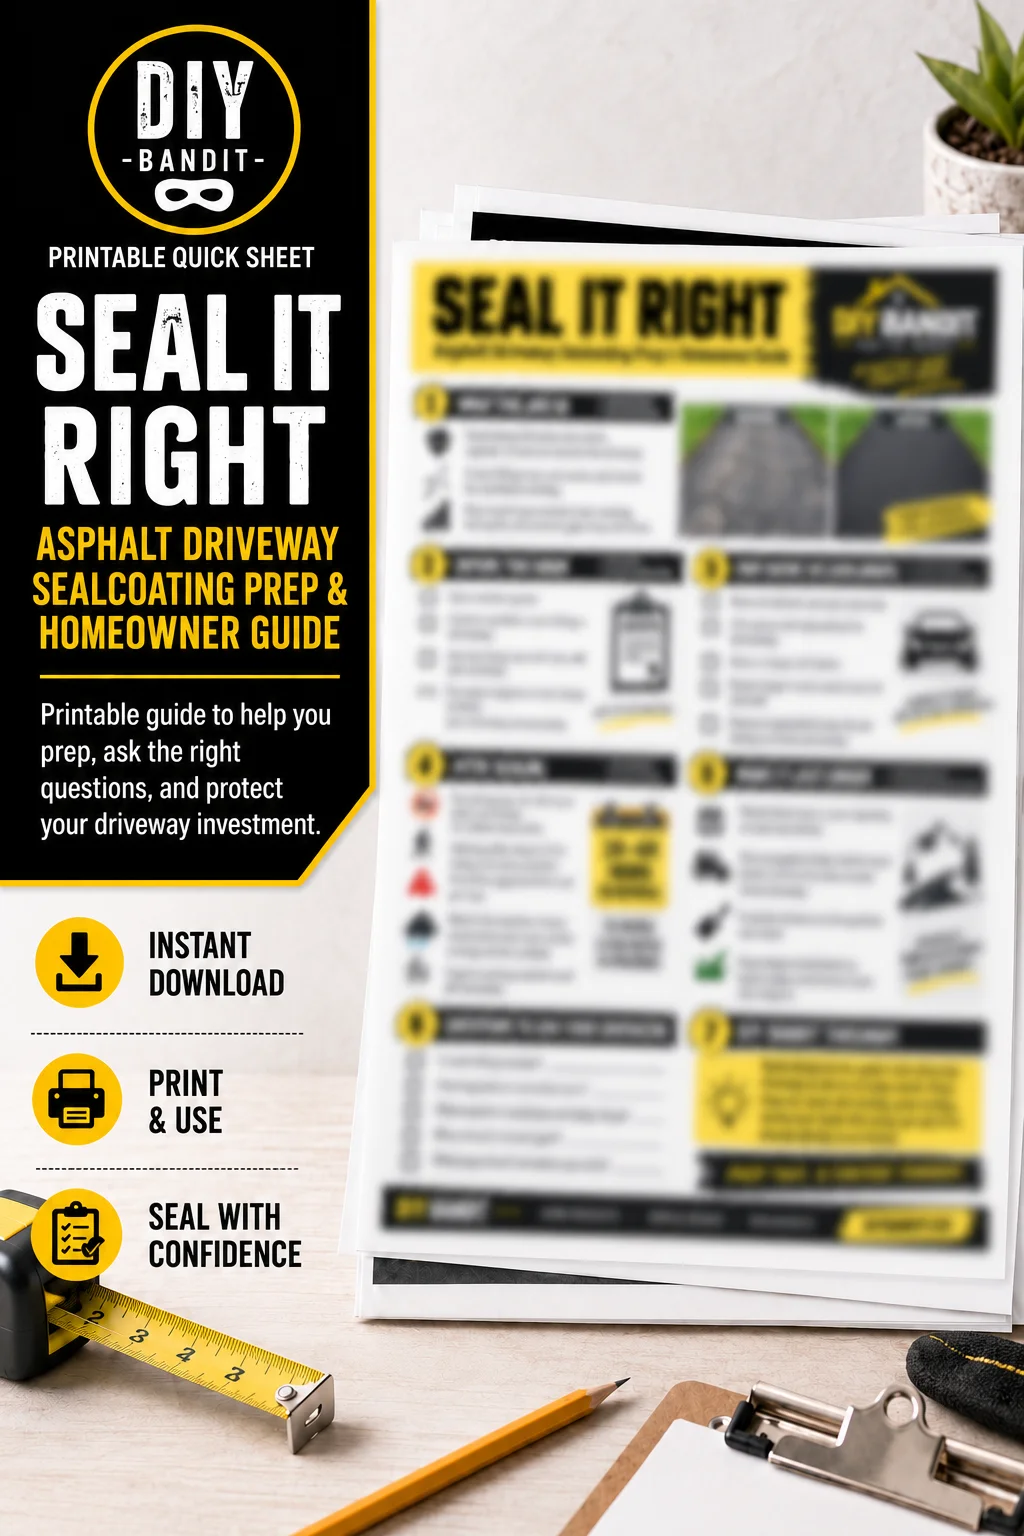
Get the Seal It Right Guide
Want a printable document? That's exactly what the Homeowner's Toolkit is for — join here for downloadable project guides and direct help with your own DIY work.